Blog

Free Christmas Holiday Ornament Coloring Page

This fun Christmas holiday ornament coloring page has lots of detail and will be ideal to color over the holidays. Color to create a unique wall or party decor, or to give to someone as a gift.

Find more free coloring pages HERE

This coloring page is in JPG and PDF format will print on letter or A4 paper. This is a high-resolution image which will give you superb results when printed. Print onto good quality paper for best results.  This is a detailed coloring page which is perfect for wall art, greeting cards or just for fun. It would also make a great gift when colored for a loved one or special friend. If you do color this page give us a shout out on Instagram @makebreaks 🙂

Want to know when new free coloring pages are added? Be the first to know of new freebies and other fun things! SIGN UP HERE 🙂

Free Christmas Ornament Coloring Page

You can download the coloring page jpg and pdf file here:

Ornament Coloring Page

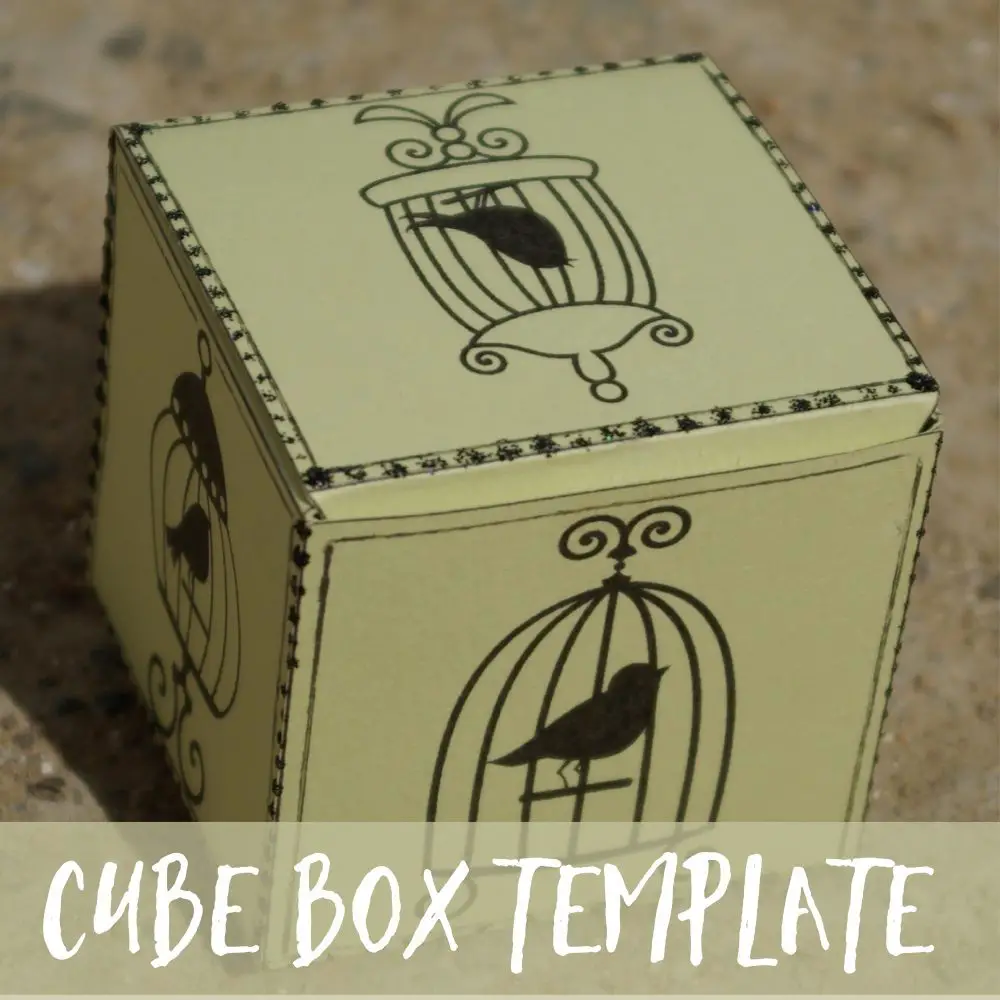
Free Cube Box Templates

This cube box template is free for you to download and you will find two sizes included (of course, you can also resize the template on your printer or photocopier). These little cube boxes are so versatile! Make them as gift boxes, decorations or even as kid’s toys!

Browse all our free printable gift box and gift bag templates HERE!

More Free Printables!

We have 100s of free printables for you. Check out our free printable alphabets and numbers, free printable stickers, coloring pages and much more!

Don’t forget to sign up to our NEW arts and crafts newsletter! Be the first to know of new freebies and other fun things! SIGN UP HERE 🙂

Cube Box Template

Cube Boxes: 10 Creative Uses

Cube box templates are a versatile and easy-to-use tool that can be used for a variety of purposes. Whether you’re looking for a unique way to package a gift, create party favors, or even make your own dice, a cube box template can help you achieve your goals.

Here are 10 creative uses for cube box templates:

  1. Gift packaging. Cube boxes are a great way to package gifts of all sizes. They’re sturdy and can be decorated to match any occasion. Simply print out the template, cut out the box, and fold it along the lines. Then, you can decorate the box with your own personal touches, such as stickers, markers, or ribbon.
  2. Party favors. Cube boxes are also a great way to create party favors. Fill them with candy, small toys, or other party favors, and then hand them out to your guests. You can even customize the boxes to match the theme of your party.
  3. Dice. If you’re a fan of board games, you can use a cube box template to make your own dice. Simply print out the template, cut out the individual faces, and then glue them together. You can even paint or decorate the dice to make them look unique.
  4. Storage boxes. Cube boxes can also be used as small storage boxes. They’re a great way to keep small items organized, such as jewelry, office supplies, or craft supplies. Simply print out the template, cut out the box, and then fold it along the lines.
  5. Miniature Toy boxes. Cube boxes can also be used as toy boxes for small models, miniature toys. Simply print out the template, cut out the box, and then fold it along the lines.
  6. Art projects. Cube boxes can also be used for art projects. Create a few and draw faces to turn the boxes into cute monsters
  7. Gift tags. Cube boxes can also be used as 3d gift tags. Simply print out the template, cut out the box, and then attach it to a gift with a ribbon.
  8. Place cards. Cube boxes can also be used as place cards. Simply print out the template, cut out the box, and then write the guest’s name on the top.
  9. Advent calendar. Cube boxes can also be used as a fun alternative to traditional advent calendar. Print out and make 25 boxes to stack together!
  10. Educational tools. Cube boxes can also be used as educational tools. For example, you could use them to teach children about the different shapes or to help them learn about math concepts.

These are just a few of the many creative ways that you can use cube box templates. So get creative and have fun!

Here are some additional tips for using cube box templates:

  • Use high-quality cardstock for the best results.
  • Use a sharp pair of scissors to cut out the box.
  • Be sure to fold along the inside lines carefully.
  • If you’re using the box for a gift, you may want to add some padding to protect the contents.
  • Have fun decorating the box to match your needs!

With a little creativity, you can use cube box templates to create something truly unique. So what are you waiting for? Start exploring all the possibilities today!

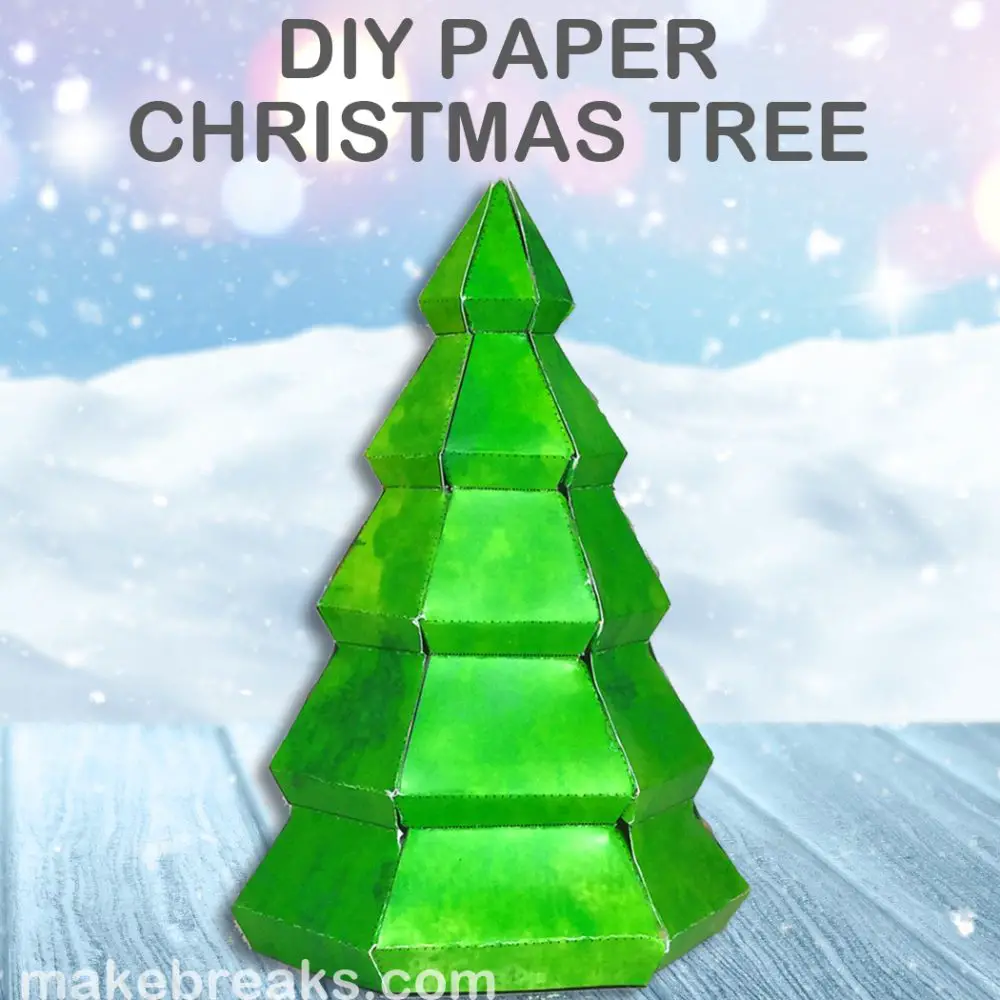
Tutorial: Make a Paper Christmas Tree (With Free Template)

Make a paper Christmas tree ornament with our free printable template (see below). This paper tree template is uncolored, so you can print it into any color heavy weight paper or cardstock you like to create your own unique trees. Alternatively, print the template onto scrap paper and then transfer this to scrapbook or decorative paper to create your tree.

Color Your Tree Template With Microsoft Paint

If you want to color the tree digitally before printing, you can use the free Microsoft Paint app to color your tree. This is very simple. See the tutorial here – How to Color Templates with Microsoft Paint.

How to Make the Paper Tree Ornament

You will need:

  • Template (download below)
  • Cardstock or heavyweight paper
  • Scissors or craft knife
  • Adhesive (I like glue sticks, however normal white glue or wood glue will work well too)
  • Metal ruler or straight edge
  • Bone folder (you will use this for scoring the paper or cardstock and this will help to give you crisp edges to your folds)

Instructions

1/ Download and print the template. Download the template here

Free Paper Tree Template

2/ Cut out the shapes, using a craft knife or scissors.

Tip: You will notice I have numbered the pieces 1 – 6. The pieces join together in a clockwise direction. With the right sides facing you and starting with piece 1, piece 2 will join on the right edge of piece 1. Piece 3 will join the right edge of piece two etc. 


3/ Score along the dotted fold lines using the bone folder and metal ruler. If you are not familiar with scoring, we do this to prepare the paper or cardstock for folding. This means using a bone folder (or blunt knife) and carefully drawing this down the side of the ruler along the fold line. This breaks the fibers in the paper and will make it much easier to fold a straight line.

Note the difference between the dotted lines on the template:

.  .  .  .  .  .  .  .  .  .    = Mountain fold (folds like ^)

………………………  = Valley fold (folds like a V)

Score along all the fold lines.

Start adhering the edges together.

Tip: I make this in two halves, starting with pieces 1, 2 and 3. I then put together pieces 4,5 and 6. And finish by adhering the two halves.

I start in the middle of each section, halfway up the tree, as I find this is easiest to ensure the edges line up both at the top and at the bottom. Note how the small flaps slot into place.


4/ To finish the tree, adhere the two halves together


Tips for finishing your DIY paper tree:

  • Think about how you want to display the tree before you start. If you plan to hang the tree then try adding a piece of looped ribbon or cord into the tip of the top of the tree when you are adhering the two halves together.
  • If you want to make a bigger or smaller tree, simply adjust the size on your printer settings.
  • Add your own ornaments with little pieces of cut up tinsel, stick on jewels, little pompoms – or anything to give the tree some extra sparkle!

We hope you enjoy this papercraft project from Make Breaks 🙂 If you love interesting paper crafts, you may be interested in our new papercraft club:

Sign up HERE!

[thrive_leads id=’3386′]

Free Printable Letters

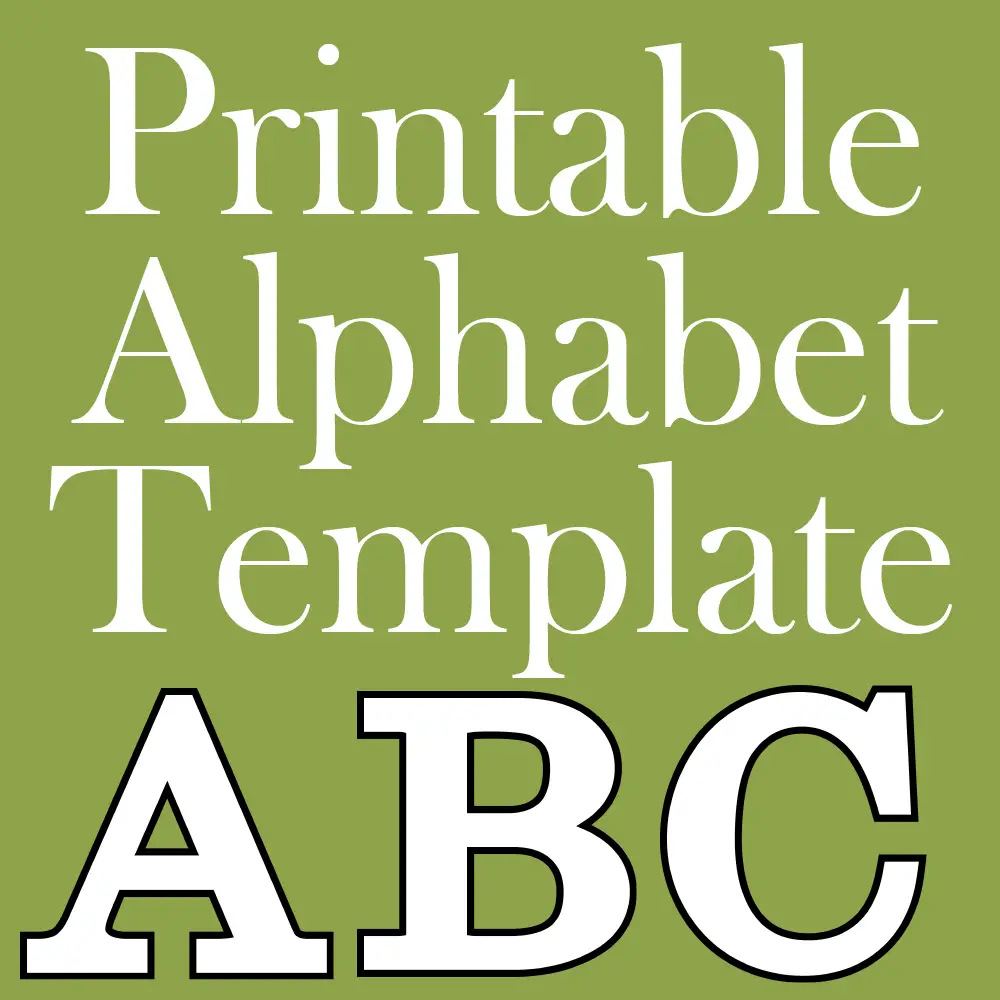
These free printable letters are a versatile addition to your crafting kit, classroom letter of the week project, home decor or anywhere else you need a printable letter or alphabet! Download using the buttons below.

You will find these blank letters are ideal for downloading and decorating by hand. Alternatively, you could print them onto colored or decorative paper for a quick finish!  All 27 letters (including the Spanish Ñ) are included in a single file, along with numbers 0 – 9 and punctuation.

More Free Printable Letters and Numbers

We have a lot more printable letters and numbers in a variety of styles. Check them out here  Free Printable Letters and Numbers!


Newsletter

Don’t forget to sign up to our free printables newsletter! Be the first to know of new freebies and subscriber only freebies! SIGN UP HERE 🙂


Download Letter Templates:

Plain Alphabet – Alphabet, Numbers and Punctuation (with serifs)

Plain Alphabet (Straight Lines) – Alphabet only (with straight lines for easy cutting) – perfect for kids and letter of the week projects

UPDATE! – I have an improved version of the straight line alphabet for free download here – FREE EASY CUT LETTER TEMPLATE.

Ways to Use The Printable Letters in The Classroom

The clear and simple style of both these alphabets makes them ideal for use in the classroom. If you’re a teacher, please take a look at these suggestions for how you could use these alphabets in your work.

  1. Word Walls: Create a word wall using print and cut out letters. Display frequently used words, sight words, or vocabulary words for various subjects. It helps reinforce literacy skills and aids students in writing and spelling.
  2. Bulletin Board Displays: Design visually appealing bulletin board displays using the letters. Create titles, headings, or motivational messages related to the current topic or theme.
  3. Alphabet Recognition: Cut out large letters of the alphabet and use them as flashcards or interactive materials to help young learners recognize and identify letters.
  4. Name Tags or Desk Labels: Print and cut out letters to create personalized name tags or desk labels for each student. It helps build a sense of ownership and community in the classroom.
  5. Spelling Practice: Use the letters for spelling practice activities. Students can arrange the letters to spell words or form sentences related to the lesson.
  6. Sentence Building: Provide students with individual letters to construct sentences or create simple stories. It reinforces sentence structure and encourages creativity.
  7. Math Activities: Utilize the letters for math activities such as forming numbers, solving equations, or representing mathematical concepts like fractions or decimals.
  8. Book Titles or Author Studies: Create book titles or author names using the letters when studying specific books or authors. It adds a fun and thematic element to the reading experience.
  9. Classroom Decorations: Incorporate the letters into classroom decorations or displays, such as classroom rules or positive affirmations.
  10. Interactive Learning Boards: Create interactive learning boards using the letters. For example, students can rearrange letters to match beginning sounds or rhyming words.
  11. Timeline Projects: Use the letters to label events or milestones on a classroom timeline. It aids in teaching history or sequential concepts.
  12. Literature Circles: Assign different letters to student groups during literature circles, and have them create presentations related to the assigned letter or words that start with that letter.
  13. Science Vocabulary: Display scientific terms or vocabulary on the classroom wall using the letters. It reinforces subject-specific language and terminology.
  14. Foreign Language Practice: Use the letters for foreign language activities. Students can practice spelling words or forming sentences in the target language.
  15. STEAM Projects: Incorporate the letters into STEAM (Science, Technology, Engineering, Art, and Math) projects, where students can design and create projects related to a specific letter or word.

By integrating print and cut out letters into various classroom projects, you can create an interactive and dynamic learning environment that fosters creativity, literacy, and active student participation. The versatility of these letters makes them a valuable resource across different subject areas and grade levels.

No post found

Don’t forget to check out our hundreds of other free printables for craft and class use 🙂

Free Printable Gift Tag Templates

Here are six different free printable gift tags for you to download. Each design will print multiple times onto a sheet of A4 or letter size paper.

More Free Printable Gift Packaging

These gift tags can be used to create your own unique tags. When I first created these tags, I had envisaged people decorating them with rubber stamps – however another quick way to make your own custom gift tag is to use these templates to cute gift tags from decorative paper, for example scrapbook paper.

Don’t forget to sign up to our newsletter! Be the first to know of new freebies and other fun things! SIGN UP HERE 🙂

Download Free Printable Gift Tag Templates

6 Tags

Ideas for Creating Your Own Gift Tags

Here are some ideas for using our free printable gift tag templates to create your own unique tags:

  1. Ink Edges: Coloring the edges of the tag with ink can add visual interest. You can use an ink pad or a marker pen to achieve this effect. Consider using metallic or contrasting colors to make the edges stand out.
  2. Decoupage: Decoupaging the tag is a great way to add texture and personality. Cut out small images or patterns from decorative paper, napkins, or magazines. Apply a thin layer of decoupage glue to the tag, carefully place the cutouts, and then apply another layer of glue on top. This will create a layered and artistic effect.
  3. Rubber Stamps: Decorating the tag with rubber stamps allows you to add intricate designs and patterns. Choose stamps that match the theme or occasion of the gift. Experiment with different ink colors and placement to create unique designs.
  4. Lace Doily Effect: Cutting out a doily and sticking it onto the tag can add a delicate and lace-like effect. You can either use a paper doily or cut out a lace pattern from cardstock or decorative paper. Attach it to the tag using glue or double-sided tape. Consider embellishing the doily further with small pearls, gems, or glitter.
  5. Embossing: Embossing adds a raised and textured design to your gift tags. You’ll need an embossing heat tool, embossing powder, and rubber stamps or stencils. Stamp or apply the embossing ink onto the tag, sprinkle embossing powder over it, tap off the excess, and then use the heat tool to melt and set the powder. This technique can create an elegant and professional look.
  6. Handwritten Messages: Instead of printing or typing the gift recipient’s name, write it by hand using calligraphy pens or markers. This personal touch adds warmth and shows your effort and care.
  7. Embellishments: Add small decorative elements like ribbons, twine, buttons, bows, or small charms to enhance the overall look of the tag. These embellishments can be attached using glue, adhesive dots, or by punching a small hole and threading them through.
  8. Watercolor or Marker Art: If you enjoy painting or drawing, use watercolors or markers to create unique and colorful designs on your tags. Experiment with different techniques, gradients, and patterns to make each tag one-of-a-kind.

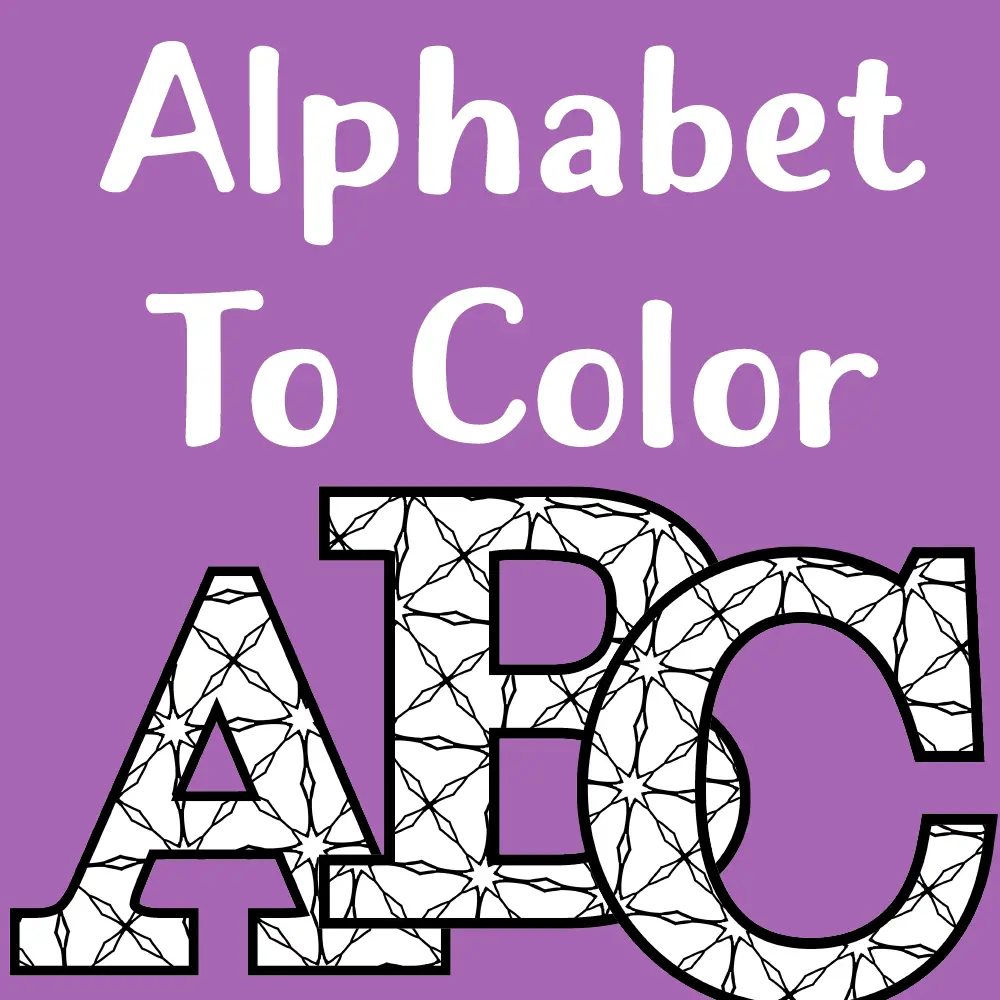
Printable Alphabet Letters To Color

Download this complete set of printable alphabet letters to color and add to your crafting collection. Here you will find 26 high resolution printable letters of the alphabet to color.

This set of printable alphabet letters to color is ideal for many projects. I have saved the files in a high resolution format which means that you will get great quality prints on large sizes as well as smaller sizes. Print each letter onto A4 or letter sized paper to create a large letter you could use as wall art or to add to a scrapbook page, alternatively use your printer or computer to create smaller size letters which you can use to create cards or other embellishments.

Download the Printable Alphabet Letters To Color

This file contains all the letters of the alphabet so you don’t need to worry about downloading each one separately.

Don’t forget to sign up to our NEW arts and crafts newsletter! Be the first to know of new freebies and other fun things! SIGN UP HERE 🙂

Alphabet to Color

If you love coloring then these printable letters can be used as coloring pages. You’ll find we have more coloring pages for you here – Free Coloring Pages. We have more alphabets and letters for you to use in your crafting projects here – Free Printable Letters and Numbers.

Leave a comment below if you enjoy this or any of the other free printables we have for you here (yes, everything her is free for you to download and use in your craft projects), and let us know if there are any other printables you’d like to see. We’ll be pleased to add more printable letter coloring pages if you would like to see them.

Free Printable Red Glitter Alphabet

Here’s a useful red glitter alphabet for you to download for your scrapbooking or papercraft projects. This alphabet is perfect for people who love glitter but hate the mess 🙂

We have more free printable glitter letters and alphabets HERE.

Don’t forget to sign up to our arts and crafts newsletter! Be the first to know of new freebies and other fun things! SIGN UP HERE 🙂

Red Glitter Alphabet


Free Printable Christmas Wreath Coloring Page

Here’s a pretty Christmas wreath coloring page for you to download – perfect for coloring fans! This mandala coloring page will print on a4 or letter size paper.

Don’t forget to sign up to our NEW arts and crafts newsletter! Be the first to know of new freebies and other fun things! SIGN UP HERE 🙂

You can download the jpg:

Wonderful Christmas Coloring Page


Christmas Crackers #2 Free Printable

This is a fun way to make unique Christmas crackers for the festive table. The set contains two versions with designs suitable for a festive party.

These two PNG files will produce great quality prints on letter/A4 paper.

Don’t forget to sign up to our NEW arts and crafts newsletter! Be the first to know of new freebies and other fun things! SIGN UP HERE 🙂

Christmas Crackers Two – Christmas Crackers Three


How to Make a Custom Colored Paper Beads

Make your own custom paper beads using our free paper bead template. The finished beads are ideal for making jewelry such as earrings and pendants. All you require is:

  • Free printable paper bead template
  • Adhesive (glue sticks will work fine for this project)
  • Marker pens
  • Sealer (something like Mod Podge  or even a clear nail enamel will do well to protect the finished beads from moisture)
  • Embellishments such as glitter glue or stick on jewels
  • Wooden cocktail stick (or thin knitting needle or similar)
  • Scissors

These paper beads are quick and easy to make and are a great family project.

How to Make Custom Paper Beads

First download the paper bead template. Unzip the files and print the template onto plain white paper

Step One – Color the Beads

Color the beads. As you are going to be cutting around the edge of the template, you don’t need to worry too much about keeping within the lines. The outer part will be cut away and the white inner center will be hidden:


Step Two – Cut the beads shape from the template

Cut around the bead template shapes:


Step Three – Roll the beads!

Now it’s time to roll the beads! Hold the bottom of the bead template (the wider part) along the cocktail stick or thin knitting needle and then carefully roll the paper bead template around until it is completely wound. You may need to adjust it slightly so the bead is symmetrical. Add a dab of glue to the end of the bead to secure it in place:


Step Four – Finish the bead

When the bead is fully secure you can add further decor to make the bead stand out. Here I am adding some dots of glitter glue, however highlighting some areas with a gel pen, adding some stick on jewels etc are all ways to add further dimension and interest to the finished bead:


Leave the finished beads to one side to dry. Now it’s time to seal the beads. This is optional, however if you don’t seal the beads, they will be susceptible to the damp and may go soggy r the color may run. Sealing the beads also makes them more robust. To do this, just paint on a layer or two of sealer and wait for it to dry.

It’s as simple as that! Make the finished beads into jewelry or use as embellishments for other projects.

I’ll love to see what you do with this template. If you do make these beads, send me a photo so I can see how they end up!