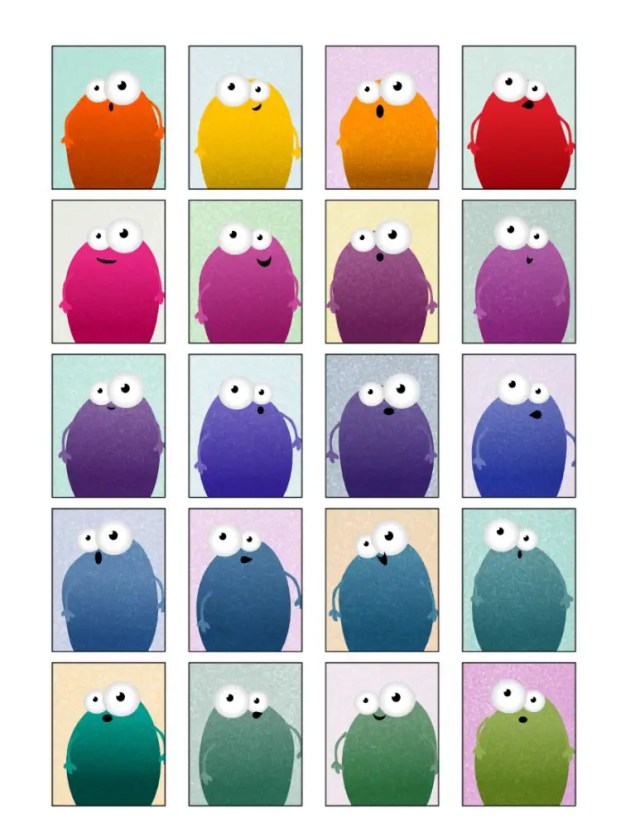
Use our free sticker template to create your own unique planner stickers in Affinity Designer for iPad.
This is super simple to do. Here’s how:
You will require:
- Affinity Designer for iPad
- Our free sticker template
How to Make Planner Stickers Using Affinity Designer for iPad
Download the sticker template to your iPad (or download it to your desktop and transfer the file to your iPad using your preferred method).
Import the file to Affinity Designer for iPad (this will depend on how you transferred the file, if you downloaded the file directly to your iPad, you will find it in photos, if you uploaded it to iCloud, you’ll import the file from here).

This will create a new document with the sticker template as the background layer.
We want to create a new layer to which we can add decoration.

Click on the + icon in the layers panel and create a new vector layer. Drag this layer beneath the sticker template layer.

You can now use the shape tools to add shapes and decor to create your stickers.

I’m assuming you know your way around Affinity Designer, however, if you are new to Affinity Designer and would like to learn how to create shapes, add gradients and texture etc, check our our tutorial showing how to make monster stickers 🙂 In this tutorial we cover many of the basics of using Affinity Designer.


