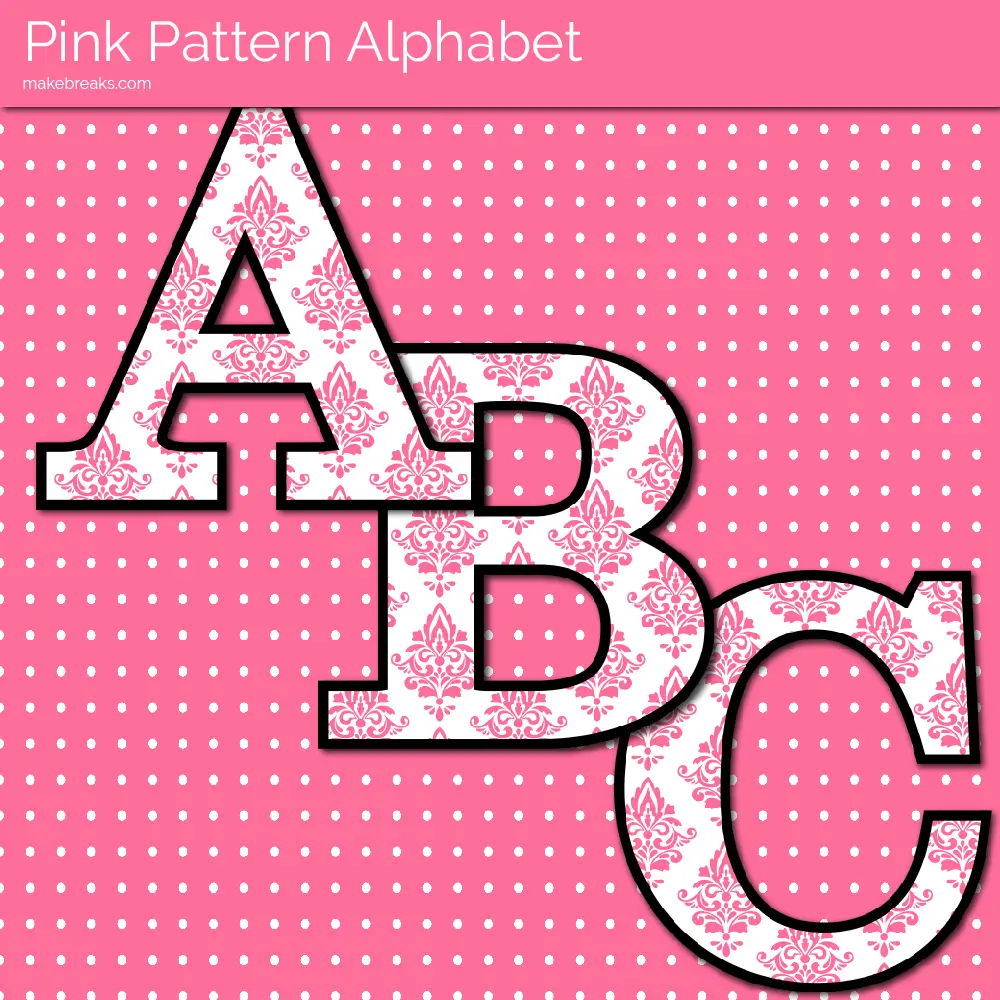
This is a set of printable letters which have a pretty pink pattern on a white background. Use this set to create banners and bunting spelling out different words, or add the letters to the front of handmade cards or scrapbook pages to personalize them. All 27 letters (including the Spanish Ñ) are included individually as separate png files, combined into a single zip file.
These are large files – you will get great quality prints on letter/A4 paper.
Matching Letters and Background Papers
We’ve got more printables for you using this pretty pink color and these will all work together. Layer the letters onto the backing paper to achieve the sort of effect we’ve shown in the preview.
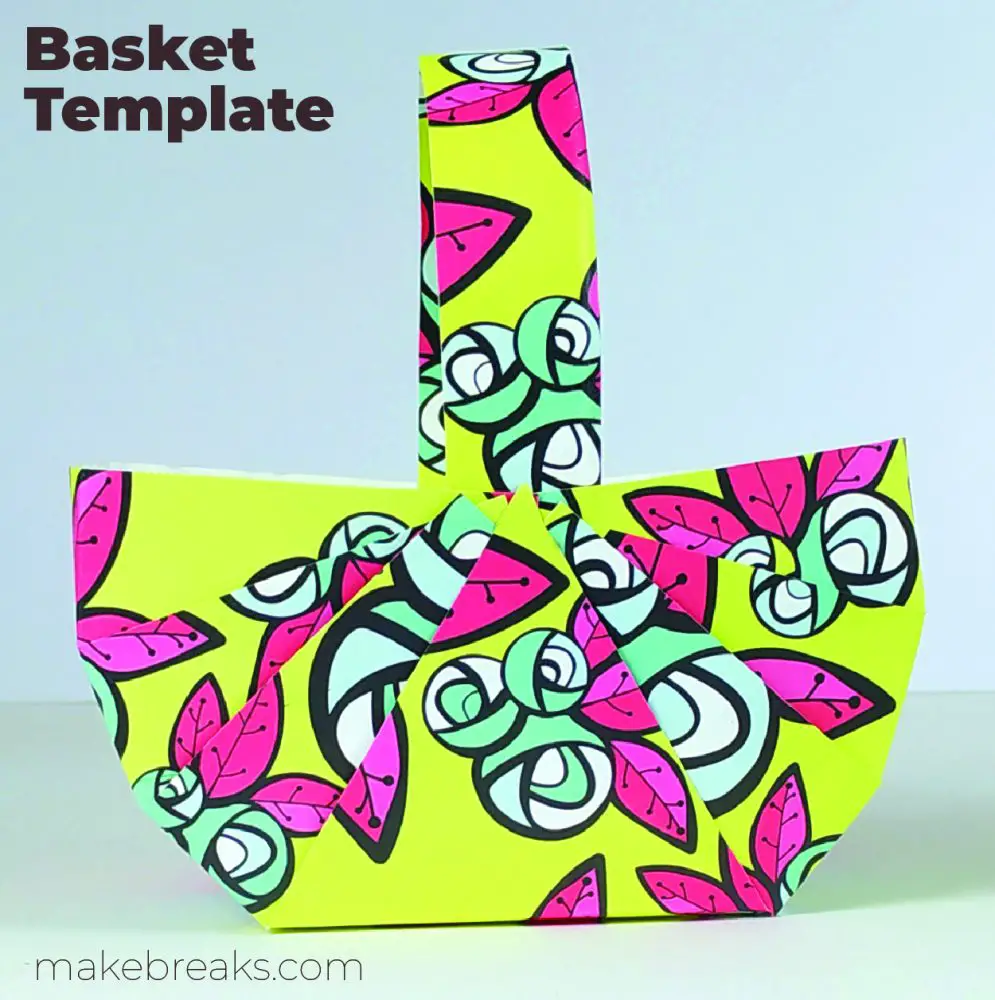
These free paper basket template is quick to make and is ideal for making DIY gift packaging and Easter baskets. Make this paper basket out of colored or scrapbooking paper for a quick finish, or print it onto white paper and decorate with pens and markers.
How to Make the Paper Basket
This is so easy to do! You will need:
Paper
Scissors
Adhesive
Decorations
Download the free paper basket template below and cut it out. Either print the template onto colored paper or print the template onto scrap paper and then transfer it to decorative paper.
Fold along the dotted lines. Use a bone folder or fold along the edge of a ruler to ensure crisp folds.
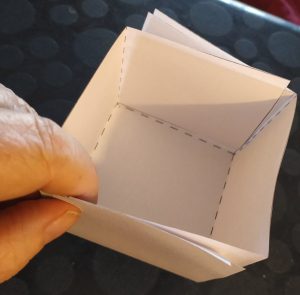
To assemble the basket, fold the edges towards the triangular section as below. Fasten them in place with adhesive.
Fold the pieces into the middle
Attach the handle and add any decorations you require.
And the basket is finished! It’s as simple as that. Use this free paper basket template to make DIY Easter baskets, to make favor boxes for weddings and parties or simply as cute gift bags.
Looking for more free printables? Be the first to know of new freebies and other fun things! SIGN UP HERE 🙂
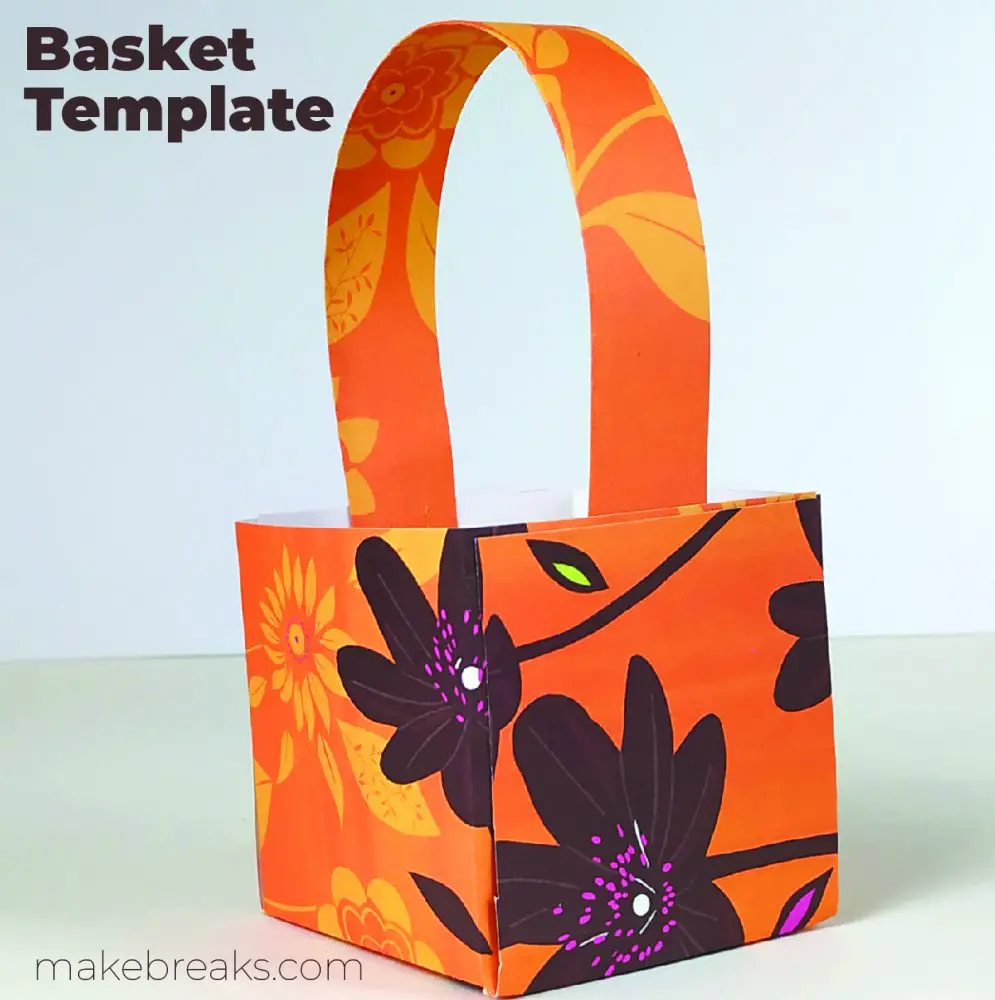
Instead of leaving the sides of the basket angled as in the image above, to make this cute cube basket template we pull the edges up so they overlap to create the cube effect.
How to Make the Paper Basket
This is so easy to do! You will need:
Paper
Scissors
Adhesive
Decorations
Download the free paper basket template from this basket project and cut it out. Either print the template onto colored paper or print the template onto scrap paper and then transfer it to decorative paper.
Fold along the dotted lines. Use a bone folder or fold along the edge of a ruler to ensure crisp folds.
To assemble the basket, fold the edges towards the center until they overlap completely.
Attach the handle and add any decorations you require.
And the basket is finished! It’s as simple as that. Use this free paper basket template to make DIY Easter baskets, to make favor boxes for weddings and parties or simply as cute gift bags.
Looking for more free printables? Be the first to know of new freebies and other fun things! SIGN UP HERE 🙂
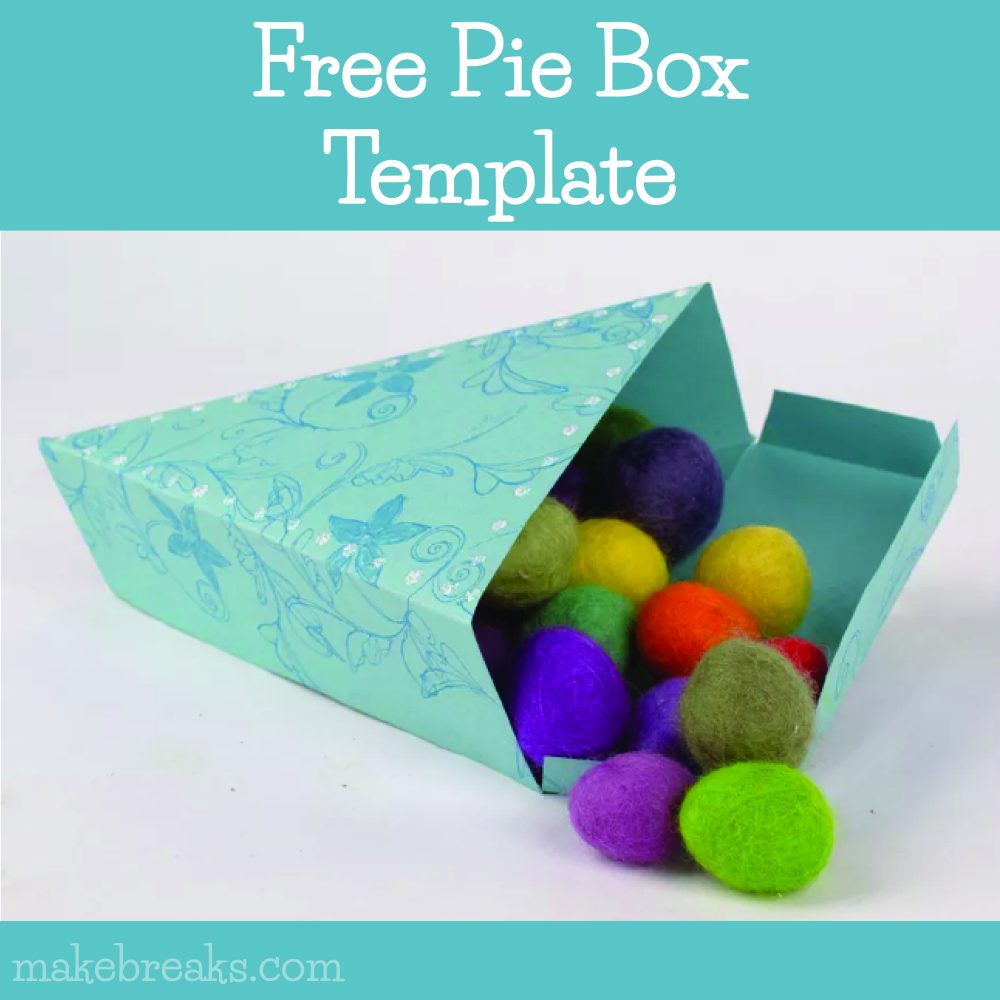
Make pie boxes with our free pie box template. Make this simple gift box out of a single sheet of paper.
A pie box is a great gift box for presenting a piece of cake or pie at the end of a party. However, they also make great gift boxes for a variety of items. Use these to present a small gift for someone or to give party favors.
Change the look and feel of this pie gift box by using different colored paper or decorating the finished box with embellishments.
How to Make the Pie Box
This is so easy to do! You will need:
Paper
Scissors
Adhesive
Decorations
Download the free paper pie box template below and cut it out. Either print the template onto colored paper or print the template onto scrap paper and then transfer it to decorative paper.
Adhere the edges together to form the pie shape, leaving the top open. When you are ready to finish the box, either adhere the top closed by tucking in the top flap and then add a sticker or piece of tape to keep it closed.
Looking for more free printables? Be the first to know of new freebies and other fun things! SIGN UP HERE 🙂
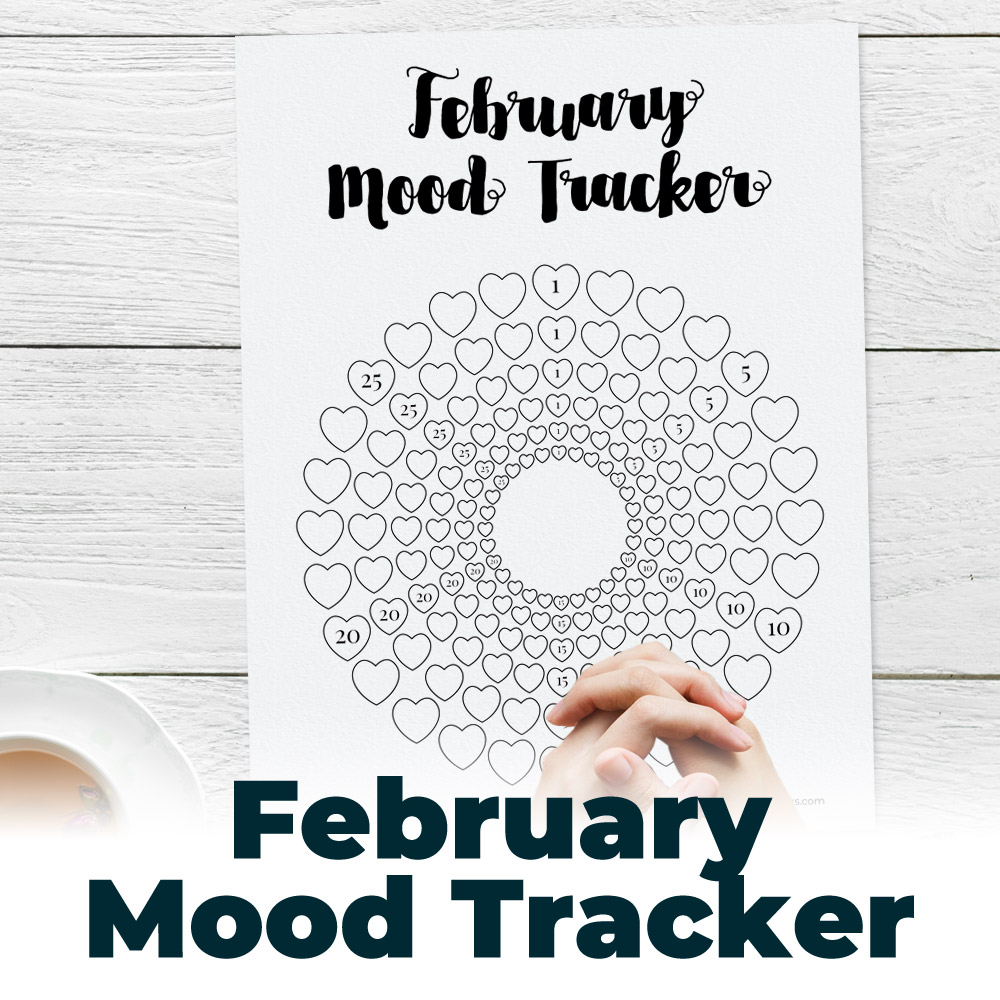
The love hearts theme of this circular mood tracker makes it ideal for February and St Valentine’s Day.
Print or Use In Digital Planners
You will find a PDF and JPG attached, so you can also add this to a digital planner if you so wish. Add the PDF to your Goodnote digital planner.
This will print on letter / A4 paper or you can use it in a digital journal or add to a coloring app.
Don’t forget to take a look around the rest of our site – everything we have is free to download. If you have any requests for future products, just leave a comment and we’ll add it to the list!
Be the first to know of new freebies and other fun things! SIGN UP HERE 🙂
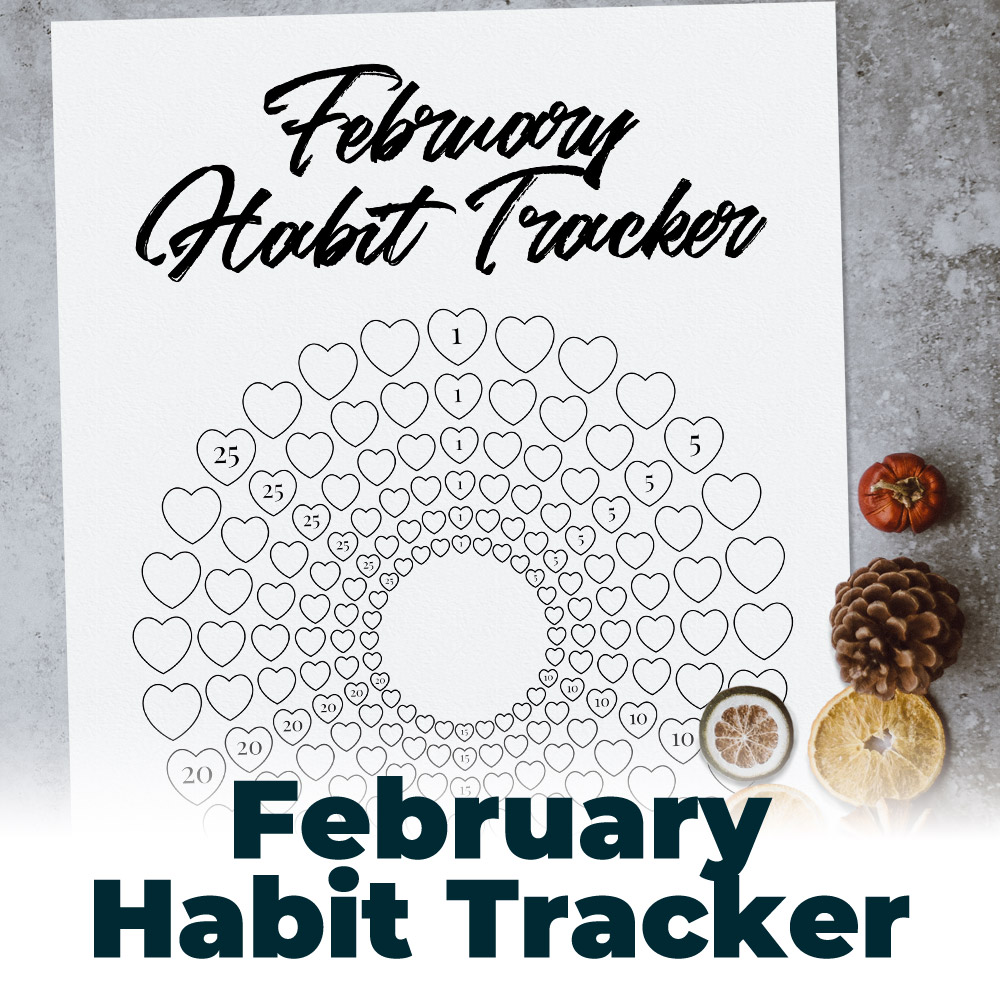
The love hearts theme of this circular habit tracker makes it ideal for February and St Valentine’s Day.
Print or Use In Digital Planners
You will find a PDF and JPG attached, so you can also add this to a digital planner if you so wish. Add the PDF to your Goodnote digital planner.
This will print on letter / A4 paper or you can use it in a digital journal or add to a coloring app.
Don’t forget to take a look around the rest of our site – everything we have is free to download. If you have any requests for future products, just leave a comment and we’ll add it to the list!
Be the first to know of new freebies and other fun things! SIGN UP HERE 🙂
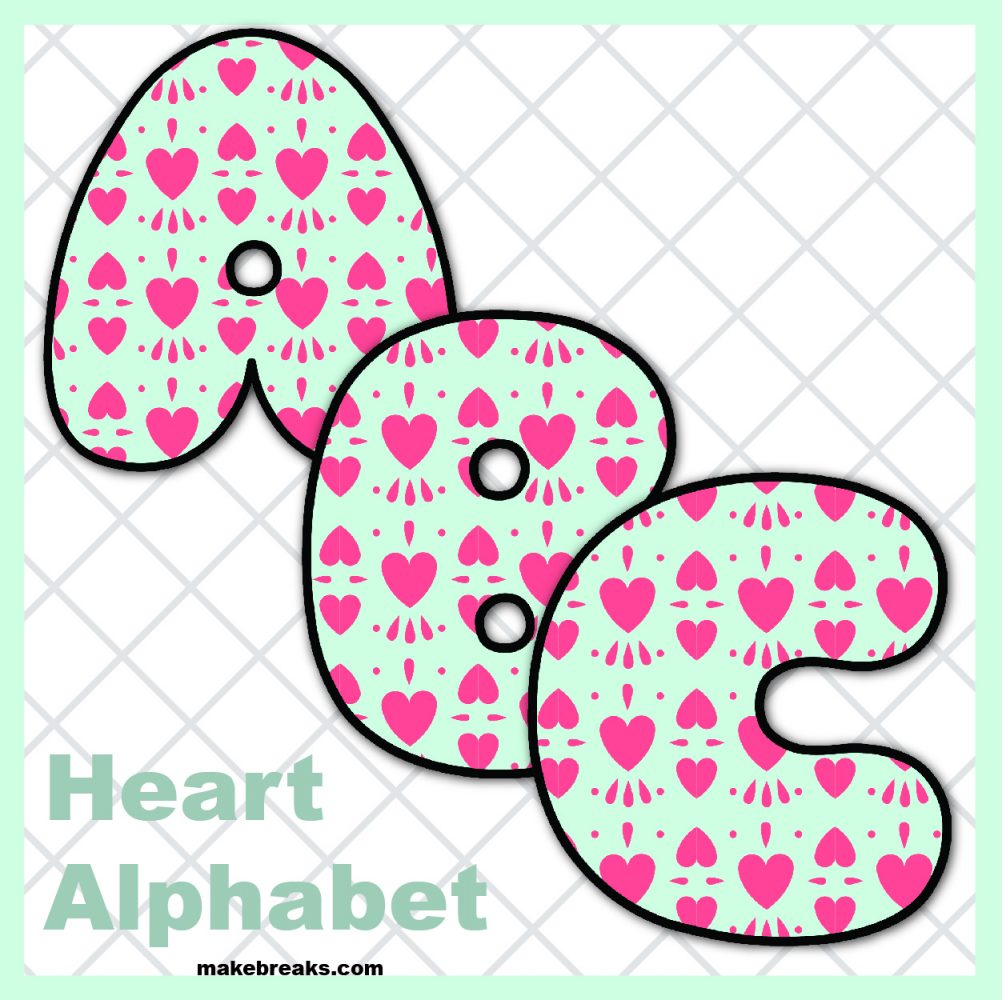
Free printable alphabet with a heart pattern. This free heart patterned alphabet is ideal for Valentine’s Day and romantic themed projects.
Use these free printable letters to make bunting, handmade cards, classroom posters and in craft projects.
These are large high-quality images which are perfect for a variety of projects.
Use this set to create banners and bunting spelling out different words, or add the letters to the front of handmade cards or scrapbook pages to personalize them. All 26 letters are saved as separate files so you can just print the letters you require.
Looking for more free printables? Be the first to know of new freebies and other fun things! SIGN UP HERE 🙂
Download Free Heart Valentine’s Day Printable Letters
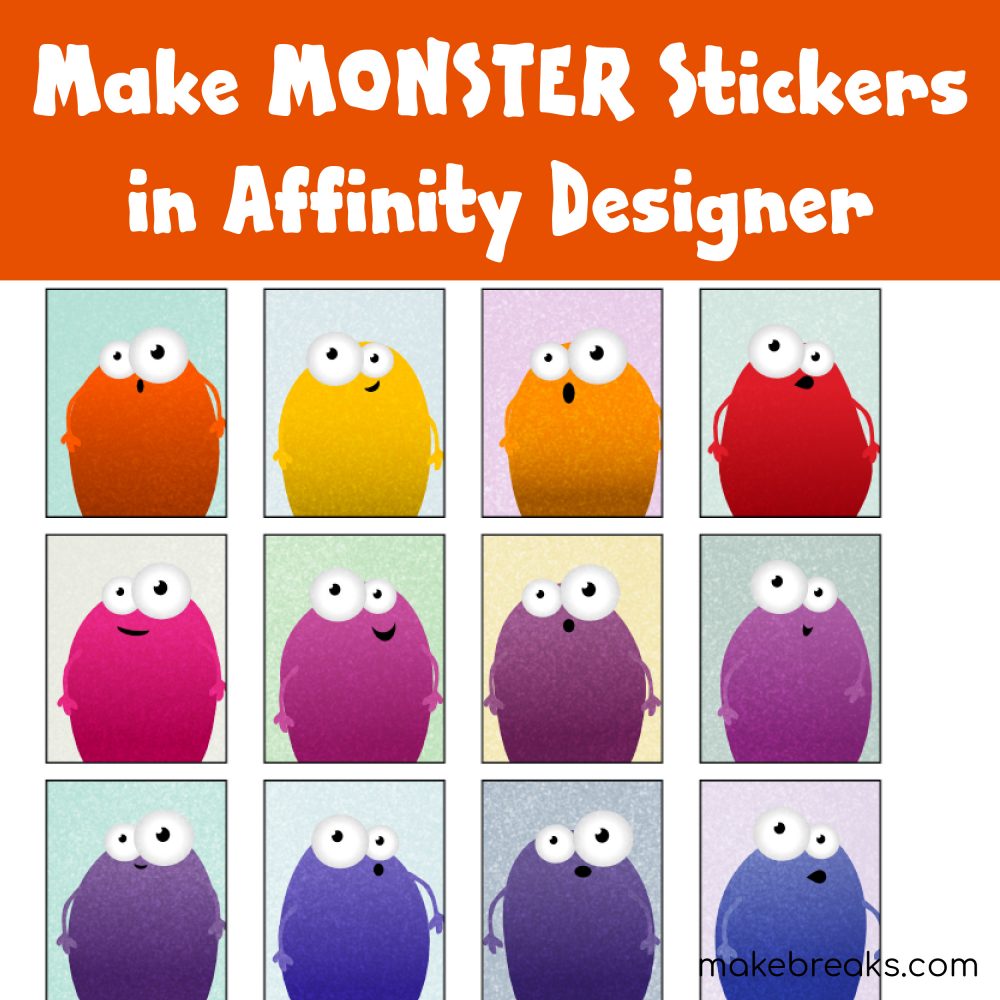
In this tutorial we’re going to create a set of monster planner stickers. This tutorial is aimed at beginners just getting started with Affinity Designer. If you don’t want to make stickers, just ignore the sticker part and just get going creating monsters! Even if you are not interested in creating monsters, this tutorial will walk you through the key things you need to know when using Affinity Designer for iPad.
Affinity Designer for iPad Important Features to Know
Perhaps the most important thing to know about using Affinity Designer is there are different ‘personas’ we can work in. These are indicated by the three icons we can see in the image above. The Vector Persona which is shown in blue, is where we create basic shapes. The Pixel Persona, which is the set of dots to the right, is where we add texture and detail.
The vector persona will create vector shapes and images. Vector images are noted particularly because they can resize endlessly without losing quality or becoming pixelated. The pixel persona creates raster images, which will become pixelated if greatly resized. I’m not going to go into the differences between the two here, as Affinity gives a very detailed explanation here – Vector vs Raster. However for our purposes – we will use vector to create images using shapes and paths, and we’ll use pixel (raster) to add detail.
Create Basic Monster Shape
In this tutorial we are going to make a single monster, and then copy the monster image to create multiple stickers.
To create different monster shapes, I suggest working in ‘batches’ as I mention below (ie do all the bodies first). However, if you are very new to Affinity Designer, I recommend creating a single monster and duplicating him first, and then creating different monsters next.
To start, we’ll create a basic monster shape. To do this, we’ll use shapes from the shape panel.
Create a new VECTOR layer (click on the + icon in the layer panel on the right).
Look at the different shapes available in the shape panel on the left hand side.
We will use the eclipse (circle) shape to create the body. We’ll also crop the shape so we only see the head and shoulders of the monster – so don’t worry if part of the monster is showing outside of the sticker frame.
To do this, first create the body shape using the eclipse tool, then create a rectangle on top where you want to crop the body.
Note: Unlike Procreate, Affinity Designer will create a new layer every time you create a new shape. Remember to drag the layer up or down if it is not created where you need it. In this step, we need the rectangle above the eclipse-
Now we need to crop the shape. This means that the part of the eclipse under the rectangle will be removed.
Click on the three button icon at the top left and first select ‘subtract’ from the geometry, this will subtract the rectangle shape from the eclipse.
Secondly, click on ‘convert to curves‘.
‘Convert to curves’ changes the shape from being a ‘fixed’ shape into being a more fluid object which you can distort and manipulate using the nodes.
We’re going to change the monster’s body from being a perfect eclipse into being a more organic and interesting shape.
Select the node editor tool (second down on left hand tool bar) and grab a node handle on the monster’s body. See how moving the handle will change the shape. Go wild or subtle in how you change the body – it’s up to you!
If you want to change the color of the body, make sure the body is selected and then choose a color from the color palet on the right hand side.
To add the eyes, we just make more eclipse shapes.
Create two white circles and two black ones to form the eyes. Remember to drag the layers into place if the layers are in the wrong order.
And we’ll add a mouth, again, using the shape tool, but this time we’ll use the half moon crescent.
To change the shape and rotation of the mouth, drag on the nodes and handles, using the node editor tool (the arrow head, second icon down on the left hand toolbar).
Now we’ll add an arm or two.
To do this we’ll use the pencil tool which allows us to draw freeform shapes.
The arm currently does not have an outline or fill colour. The white circle with the blue line in the color panel shows that both the fill and the outline are empty. If I wanted to create a black outline for the arm, I would just select the outline icon (the ring) and then click on the color I wanted. To change the fill color, select the fill icon (the disc) and choose the required color.
To duplicate the arm or any shape, simply make sure the shape is selected and then tap with two fingers on the screen. Alternatively, choose ‘duplicate’ from the menu selected with the three dots, top left.
How to Add Gradient In Affinity Designer For iPad
It’s very easy to add gradient to a shape. Make sure the shape is selected, click on the gradient icon (left hand tool bar) and then drag on the shape. You will see the gradient is created. If you want to change the color, click on the color dots and then select a color from the color panel.
Tip: Look at the tool bar at the bottom of your screen and you will see there are different options for gradient effects. We have used the linea effect in the monster above, however you could also try the radial effect – this is handy for adding depth to the eyes.
To add a background – create a new layer UNDER your monster layer (to open the layer panel click on the layer icon) and draw a rectangle shape. Fill this with your desired color.
TIP: With the monster finished and background added, something that is useful to do is to create a group with all these layers together. This keeps everything neat and manageable. This is particularly useful seeing we are creating several different monsters!
To create a group, open the layer panel, select the layers you want to group (to select multiple layers swipe from left to right on the layers you require). Then click on the group icon (the center icon which looks like two jigsaw pieces) and this will create a new group.
The Pixel Persona
We’re now going to add texture to the complete image. To do this we need to change to the Pixel Persona.
Create a new PIXEL layer above the monster.
You will see the tool bar on the left has changed. Select the paint brush tool on the left AND the paint brush tool on the right.
When you click on the brush icon on the right, you will see this opens the brush panel.
Scroll through and see which effects you like. I used the spatter brush. Change the color in the color panel and you will see at the bottom of the screen there are other options for tweaking.
The texture is likely to look very prominent, therefore we can reduce the opacity and blend the texture with the monster. To do this, open the layer options window (highlighted above).
This will give you a range of options:
Change the opacity by moving the opacity slider and change the blend mode by flicking through the blend options. By default, it is set to ‘Normal’.
Duplicate the Monsters
Now to duplicate the monsters! This is easy to do.
Before starting, group the layers together again – group the body group, the texture layer and the background layer together to form a new group.
Go back to the vector persona and then just highlight the group layer and click on the duplicate icon in the options window top left.
Then drag the copied monster group into the desired sticker window.
When you duplicate again – you will see that Affinity Designer has remembered the placement of the duplicate, and automatically placed it in the next window!
When you have the top four windows filled, select those four groups, and duplicate down the page.
How to Create Different Monsters
To create DIFFERENT MONSTERS, you could copy and paste the monster into different sticker windows, however, I find it is easier to do it in ‘batches’. Create all the bodies first, then tweak the shapes, then create the eyes etc. Remember you need only create a new shape on the first monster, then you can duplicate and drag it into place on the next monster.
If you work this way, you may find it better to organize the groups in a different way. For example, you may have a group of just bodies, although with just arms.
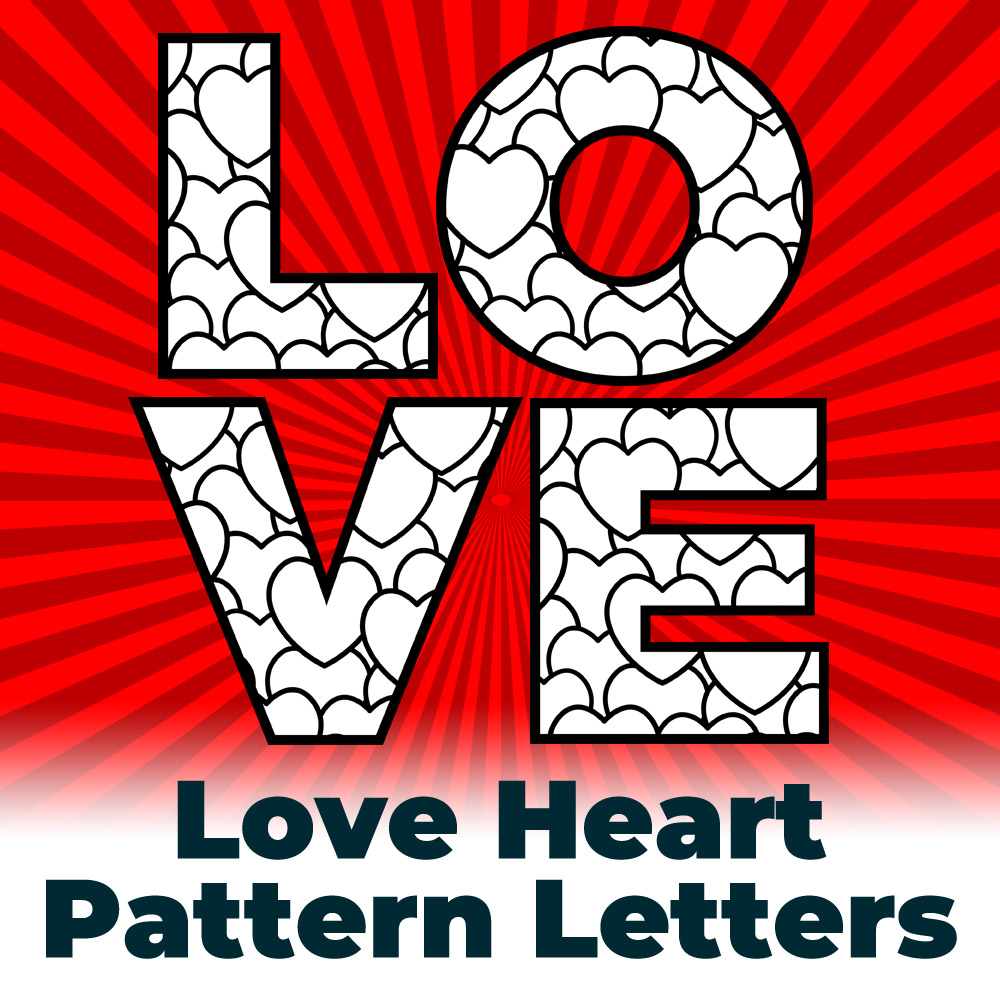
These bold letters have a random love hearts pattern that give these a stylish contemporary feel. Use these letters as they are for a contemporary look or use them as alphabet color pages.
Print these in black and white and use as they are or have fun coloring these in to your taste.
You can print these on Letter or A4 sized paper and then cut out. These will be great for party decorations whenever you need a romantic theme.
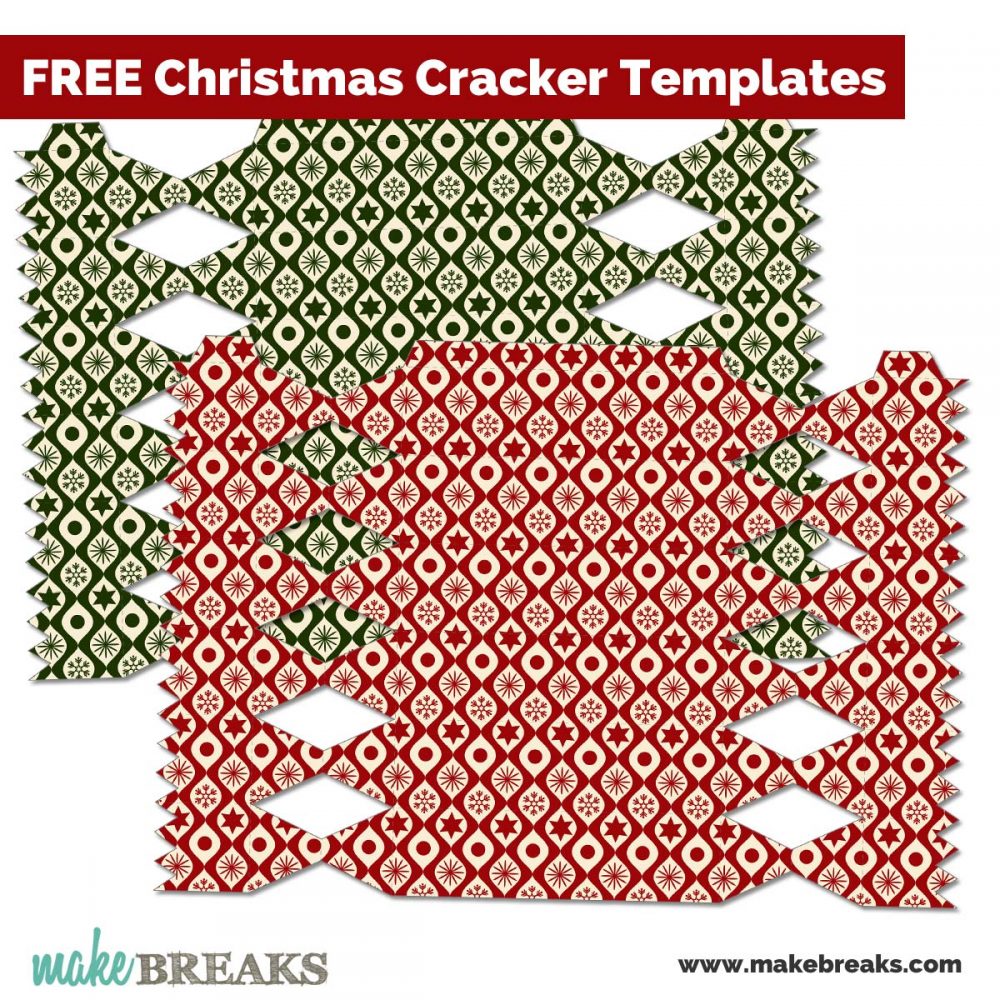
This is a fun way to make unique Christmas crackers for the festive table. The set contains two versions of the same design, one in green and the other in red.
These two PNG files will produce great quality prints on letter/A4 paper.
Don’t forget to sign up to our NEW arts and crafts newsletter! Be the first to know of new freebies and other fun things! SIGN UP HERE 🙂