Blog

FREE Gold Foil Dot Digital Paper Download

Free gold foil effect digital paper! Here are six pieces of gold foil polka dot digital paper for you to download with contemporary color backgrounds. These papers have a pretty gold foil effect.

More Gold Effect Printables HERE

These free digital papers have a will make a great background for your digital crafts, digital planners, digital scrapbooking or to print and use to create handmade cards, wrapping paper and more!

The free digital paper is saved in PDF and JPG files for ease of use. Each page is saved at 300 dpi which will give you top quality prints at letter/a4 or larger!

You are welcome to use these free gold foil effect dot digital papers in digital scrapbooking and other digital projects, or print them and use them as you would any piece of decorative paper. Commercial use OK. Download the zip file below:

Download Free Gold Foil Dot Paper Designs

Gold Dot Digital Paper


Free SVG Cutting File – Wifey Hubby for Wedding Gifts

Free SVG cutting files! This free Hubby Wifey script font cutting file is yours to download and cut using your Silhouette or Cricut cutting machine. Hubby and Wifey images are in two separate files for ease of use.. All our cutting files contain the following formats:

  • SVG
  • DXF
  • EPS
  • PNG

These free cutting files are free for you to use in your personal and commercial projects. Yes, you can use these files to cut designs to place on items to sell on Etsy and similar venues.

More FREE SVG Cutting Files

Don’t forget to sign up to our free printables newsletter! Be the first to know of new freebies and other fun things! SIGN UP HERE 🙂

Download Free SVG Cutting File

Hubby Wifey Free SVG File – Hubby Wifey Free Cutting File


Free SVG Cutting File – Joy Festive Script

Free SVG cutting files! This free ‘Joy’ script word cutting file is yours to download and cut using your Silhouette or Cricut cutting machine. This joy word cut file is perfect for festive decorations. All our cutting files contain the following formats:

  • SVG
  • DXF
  • EPS
  • PNG

These free cutting files are free for you to use in your personal and commercial projects. Yes, you can use these files to cut designs to place on items to sell on Etsy and similar venues.

More FREE SVG Cutting Files

Don’t forget to sign up to our free printables newsletter! Be the first to know of new freebies and other fun things! SIGN UP HERE 🙂

Download Free SVG Cutting File

Joy - Cutting File – Joy Free Cutting File


Free SVG Cutting File – Jack O Lantern Face

Free SVG cutting files! This free Jack O Lantern cutting file is yours to download and cut using your Silhouette or Cricut cutting machine. All our cutting files contain the following formats:

  • SVG
  • DXF
  • EPS
  • PNG

These free cutting files are free for you to use in your personal and commercial projects. Yes, you can use these files to cut designs to place on items to sell on Etsy and similar venues.

More FREE SVG Cutting Files

Don’t forget to sign up to our free printables newsletter! Be the first to know of new freebies and other fun things! SIGN UP HERE 🙂

Download Free SVG Cutting File

Jack Face Free Cutting File – Jack O Lantern Face


Easy Number Letter Template – Printable Numbers

Free printable number templates! These easy cut numbers templates have a thick black line and straight lines for easy cutting. You will find more easy-cut letter templates here – Free Easy Cut Letter Templates.

These free easy-cut printable numbers are a versatile addition to your crafting kit, classroom letter of the week project, home decor or anywhere else you need a printable number! These numbers have straight and simple lines, where possible, to make them easy to cut from paper or cardstock and use for crafts or classroom use, for example for letter and number of the week projects.

You will find these blank letters are ideal for downloading and decorating by hand. Alternatively, you could print them onto colored or decorative paper for a quick finish!

Don’t forget to sign up to our free printables newsletter! Be the first to know of new freebies and other fun things! SIGN UP HERE 🙂

Download Free Easy Cut Printable NUMBER Templates

Easy Cut Numbers – Numbers (with straight lines, where possible, for easy cutting)


Free Grayscale Witch to Color for Halloween

This is a free grayscale coloring page featuring a witch for Halloween. This image has a transparent background, so you can layer the finished witch over photos or your own images to create some pretty funny graphics. Use these to make invites, Halloween posters and other decor.

The transparent background means this witch can be layered on top of photos.

Grayscale Coloring

This witch grayscale coloring page is a little different to ‘traditional’ coloring pages. Instead of coloring between the lines, with grayscale, we color over the entire image. The color blends with the grayscale background, bringing depth to the page in a way that is tricky to do with outline coloring pages.

You can, of course, color these with pencils or pens on paper – however, I find it much more fun to color digitally. Many coloring apps will be fine for this, however I prefer the free painting app, Medibang Paint.

Find more free coloring pages HERE

Want to know when new free coloring pages are added? Be the first to know of new freebies and other fun things! SIGN UP HERE 🙂

Free Witch Grayscale Coloring Page

You can download the jpg and pdf file here:

Grayscale Coloring Witch


How to Set Up Your Free Digital Notebook in Goodnotes

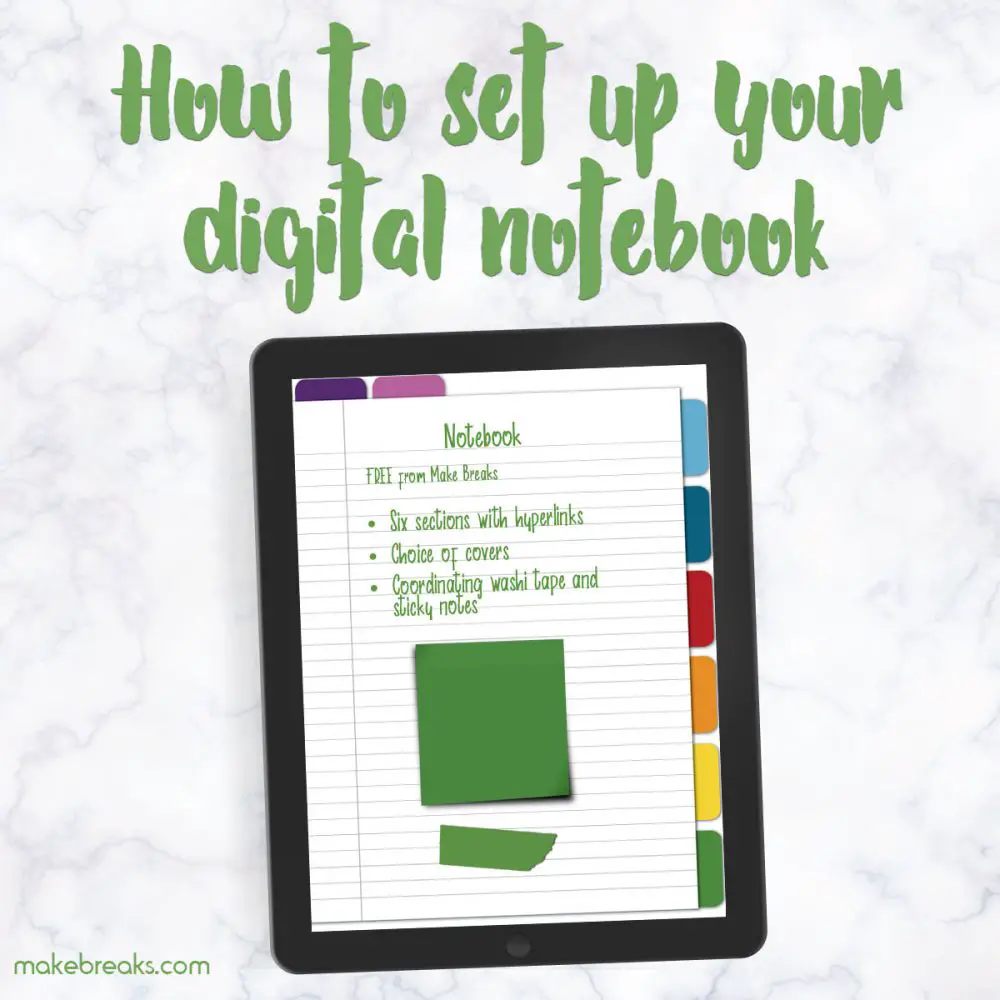
In this tutorial we’re going to look at how to set up your free digital notebook from makebreaks.com. Don’t worry if you have never used a digital notebook before, we’re going to walk through each step of setting up and using your digital workbook.

To set up the digital notebook for use we need to:

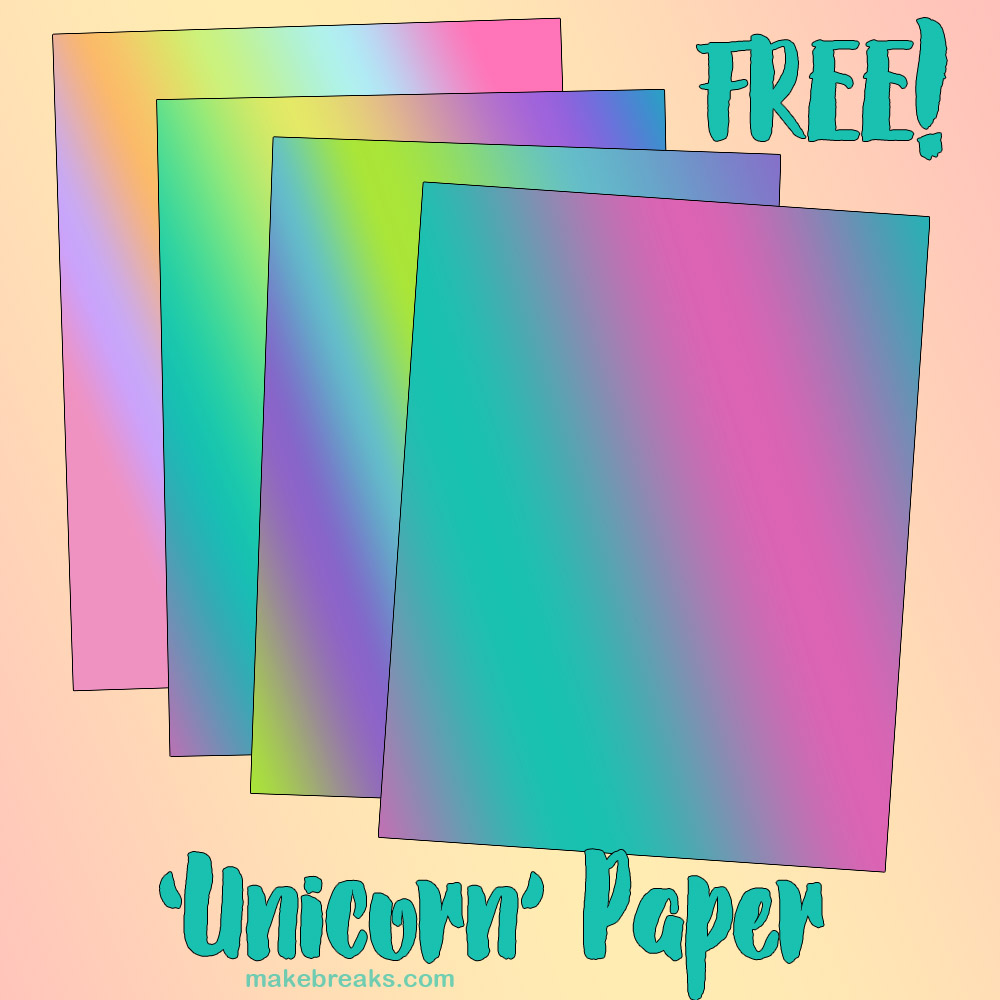
  • Add a cover (choose one of the covers I’ve provided in the download)
  • Add text to the index page (so you can easily reference the topic of each section)
  • Add text to the tabs (to make it easy to identify each section)
  • Copy the note paper into each section (it’s best to do this after we’ve added the tab text, then it’s only a case of adding the tab text to the note paper once, and then copying it)

First, download your free digital notebook and add it to where ever you want to import files to your device. I use iCloud iDrive to move files to my iPad, however others use Dropbox, Google Drive or other cloud service. Alternatively, you could download the folder directly to your device.

The digital notebook is in a PDF format. You can use the PDF format in any app that allows note taking, however these instructions are looking specifically at the Goodnotes app for iOS.

If you don’t already have Goodnotes installed, you can find out more about it and purchase it here – Goodnotes app.

How to Import Your Digital Notebook

Open Goodnotes on your device. Click on the + icon to add a new file and then choose ‘Import’:

How to import your digital notebook into Goodnotes


Then navigate to where the file is stored:


Select your notebook and you will see it is added to your Goodnotes files:


And it’s ready to use! However, it looks a bit bare like this – let’s add a cover.

How to Add a Cover to Your Digital Notebook

You will notice that as well as the digital notebook file, you have also got a selection of covers in your folder. To add a cover to your notebook, click on the notebook you have just imported to open it. Then tap on the + icon and choose ‘Import Above’. This will import the file you select on top of the current page:

Navigate to where your files are stored. Tap on the cover you want to use and it will be added to the front of your notebook:


If your cover was installed somewhere other than at the front of your notebook or you want to rearrange your pages, just select the little box icons (top right), this will show thumbnails of all the pages in your notebook. To rearrange them, just tap the one you want to move and drag it into position:


How to Add Text To Your Digital Notebook Tabs

IMPORTANT 🙂

In order to navigate around your digital notebook, the pen tool must be deactivated as seen in the image below. When the pen tool is activated, the links are deactivated (otherwise, everytime you went to write something, you may find yourself navigating to another page!).

Your digital notebook has tabs along the side and top. You can choose to leave these unlabeled, or add labels to them. The purpose of adding the text to the tabs is to help you keep track of the different sections in the book. If the color alone will help differentiate the sections,

Note: In Goodnotes we can’t currently rotate text so the text on the side tabs is aligned with the tab. We’re going to look at placing the text so it reads vertically on the tab.  For people who know their way around different apps, the alternative is to create the text in another app and save it as an image – however, as this is aimed at beginners, we’re going to simply create the text in Goodnotes.

How to Add Text to Tabs in Your Digital Notebook

Click on the + icon in the top left of the page and click on ‘Text Box’.


This will create a text box on your page. You can simply tap onto the box and drag it to where you would like it to be positioned. You will see when you tap on the text box, you can edit it. The edit options appear in the keyboard box.  Here you can change the font, style, text size etc. Add the text to the Index and Help tabs (rename them as you desire):


To add text to the index boxes, click on the + icon, select add text box and then drag the text box into position over the box you want to annotate. This will not affect the link on the box, you will still be able to click it and go to that section of your notebook.

If you need to edit the text, just tap and hold on the text and you can select the text you want to edit (if you select ‘Select All’ it will highlight all the text in that text box):

You will see a pop up menu appears with different options. You can also use the copy function to copy text to use in a different tab:


To add text to the side tabs, drag the text box into position (tap the very top of the box to move it) and then adjust the box so it fits on the tab. The text will automatically flow vertically down the tab.


And that’s it! Now all that remains is to copy the text onto the remaining pages. Don’t worry – this isn’t a big job. The select lasso makes this super easy!

How to Copy and Paste Text on Different Pages in Goodnotes

When you have added the text to the tabs as you require, we can copy all the text together and paste it to the subsequent pages. Select the lasso tool and use that to select the text you want to copy:

Tap and select ‘Copy’. This will copy all the text in the area you have ‘lassoed’:

Navigate to the page where you want to copy the text to, tap on the page and select ‘Paste’ (remember to check the little blue box with a line through the arrow to navigate):

Then drag it into the correct position. You can then repeat this on every page you want to copy the text to:


Copy The Notebook Pages

Everything’s finished – however we’re missing one thing and that’s the actual notebook pages! To do this, go to the gallery view and then tap ‘Edit’:


Select the page you want to copy. In this intance, it will be the lined notepaper. Click on ‘Edit’ and then select the page. Then tap ‘Copy’ at the bottom of the window:


Now tap ‘Done’ and click on the + icon:

You will see a + icon then appears by every page. When you click on this it will paste the page you copied:

Tap ‘Done’ when you are happy. Remember, you can drag pages around in the gallery view. Just tap and hold a page and you can move it where you like.

I hope that this tutorial has been useful and that your digital notebook is giving you a good introduction to the world of digital planning 🙂


Anime Girl Free Coloring Page – Girl Portrait 2

This free coloring page features a pretty anime style girl against a striped background. This is a fun project to color and you can make this as simple or as complex as you like. For example, for a quick coloring fix, just complete the page in single blocks of color. However, if you want to give your coloring skills a stretch, add shadow and shading to really make her come alive.

Find more free coloring pages HERE

These coloring pages will print on letter or A4 paper. This is a square image high-resolution image which will give you superb results when printed. Print onto good quality paper for best results.  This is a detailed coloring page which is perfect for wall art, greeting cards or just for fun. It would also make a great gift when colored for a loved one or special friend. If you do color this page give us a shout out on Instagram @makebreaks 🙂

Want to know when new free coloring pages are added? Be the first to know of new freebies and other fun things! SIGN UP HERE 🙂

Free Girl Portrait 2 Coloring Page

You can download the jpg and pdf file here:

Girl Portrait Coloring Page


How to Make a Unicorn Monogram Wall Poster for Free

Make a DIY unicorn monogram wall poster for free with our free unicorn printable. This is so easy to do 🙂 All you require is our free unicorn alphabet, which includes every letter from a – z with a cute unicorn decorating it and our free rainbow unicorn background papers:

These monogram unicorns are quick and easy to make. As well as creating cute wall art for a child’s room, these also make fun birthday cards or invitations.

How to Make a DIY Unicorn Monogram Poster

First download the unicorn alphabet and the rainbow background papers. Unzip the files and choose the letter and the background image you want to use.

To make a DIY unicorn monogram poster, we simply need to layer the unicorn letter over a piece of the background paper.

Of course, you could do this manually, simply print out the letter and the background paper and then cute the unicorn letter from the paper to layer over the background image. However, this entails a lot of cutting – and it’s much quicker to use an app to do this. We’re using Canva.

Step One – Create a Document on Canva

Head to Canva and select a document size. You can pick from ready-made document size templates or create a custom size. Here, I selected US letter size paper:

Learn how to make a unicorn monogram poster in canva


Step Two – Upload Your Graphics

Click on the ‘Upload’ button on the left-hand menu and upload your unicorn and background graphics:

Step Three – Add Your Background

Drag your background image into place. Use the handles to adjust the image to the right size:

Step Four – Create Drop Shadow Effect

A little drop shadow effect will make the unicorn image really pop from the page. We don’t want anything to heavy otherwise that will detract from the overall image, instead, we just need a subtle effect. Therefore drag the unicorn into place on the background. Then adjust the filter effects until the unicorn design is darker and blurred around the edges.  Click on ‘Advanced’ in the settings tab in order to see all the options available to you. You can copy the settings I used in the image below or choose your own to create an effect you like:

Step Five – Add Top Unicorn

Now place the unicorn again on top of the image you have just blurred. The effect should be that of the new unicorn having crisp edges with slight shadow showing underneath it:


Step Six – Download and Print!

All that remains now is to download the graphic and print. You will see the download option at the top right-hand side. Select ‘Print PDF’ to get a high-resolution file:


You can now print your DIY unicorn monogram poster at home or take it to anywhere which prints color documents or photos to print for you.

While we’ve used the unicorn monogram graphic to create this poster, of course, you could do the same thing with any clip art or background digital papers. Take a look around our site and see what else you can make with our free printables and graphics.

Rainbow ‘Unicorn’ Digital Paper Download

Here’s four co-ordinating pieces of rainbow effect digital paper which is perfect for unicorn themed projects. This free rainbow unicorn paper is for you to download below. The paper will make a great background for our free printable unicorn alphabet.

The image above shows one of the rainbow papers layered behind our printable unicorn image and used to make a cute monogram wall art for a child’s bedroom.

You are welcome to use these in colorful rainbow papers for digital scrapbooking and other digital projects, or print them and use them as you would any piece of decorative paper. Download the zip file below:

Download Free Rainbow Paper for Unicorn projects

Unicorn Background Paper