Blog

Free Autumn Digital Planner Covers for Goodnotes

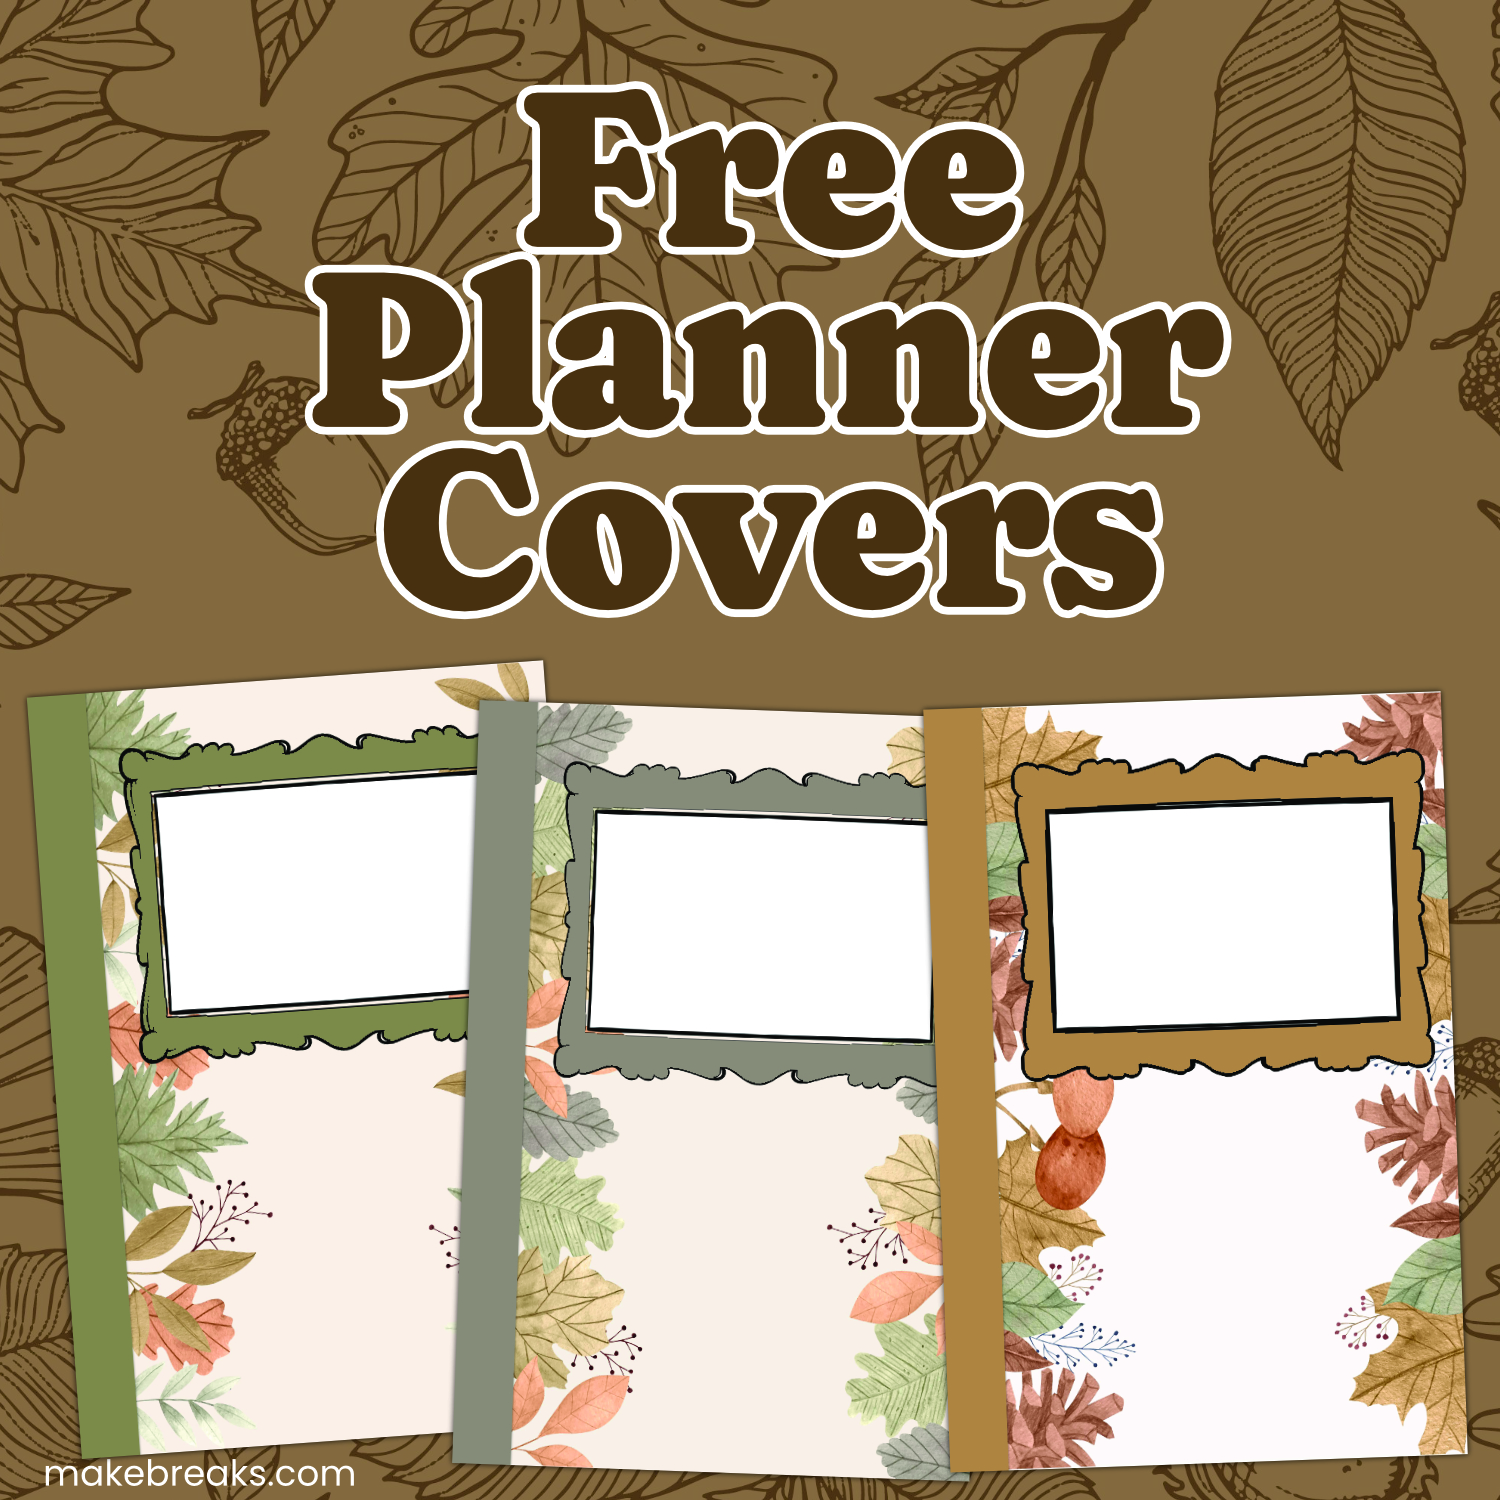
Fall is in the air, and that means it’s time to update your digital planner with some new autumn-themed covers! I’m excited to share this set of free digital planner covers with you, which are perfect for Goodnotes and similar planner apps.

How to load JPG planner covers into Goodnotes

To load a JPG planner cover into Goodnotes, follow these steps:

  1. Open Goodnotes and go to the notebook that you want to add the cover to.
  2. Tap the “+” button in the top right corner to add a new page.
  3. Tap the “Import” button and select the JPG cover file that you want to add.
  4. Once the cover has been imported, tap it to select it.
  5. Use the two fingers to pinch and zoom the cover to fit the page.
  6. Tap the “Done” button to save the cover.

Tips for using the autumn digital planner covers

Here are a few tips for using the autumn digital planner covers:

  • Use the covers to create a seasonal planner. You can create a planner for the fall season, the Thanksgiving holiday season, or the Christmas holiday season.
  • Use the covers to create a personal planner. You can add your own photos and text to the covers to make them unique to you.
  • Use the covers to create a business planner. You can add your company logo and branding to the covers to create a professional look.

Download Digital Planner Cover

Autumn Digital Planner Covers Set 1

I hope you enjoy these free autumn digital planner covers! Be sure to share your creations with me on social media.

Halloween Match Up Tarsia – Match Edge Puzzle

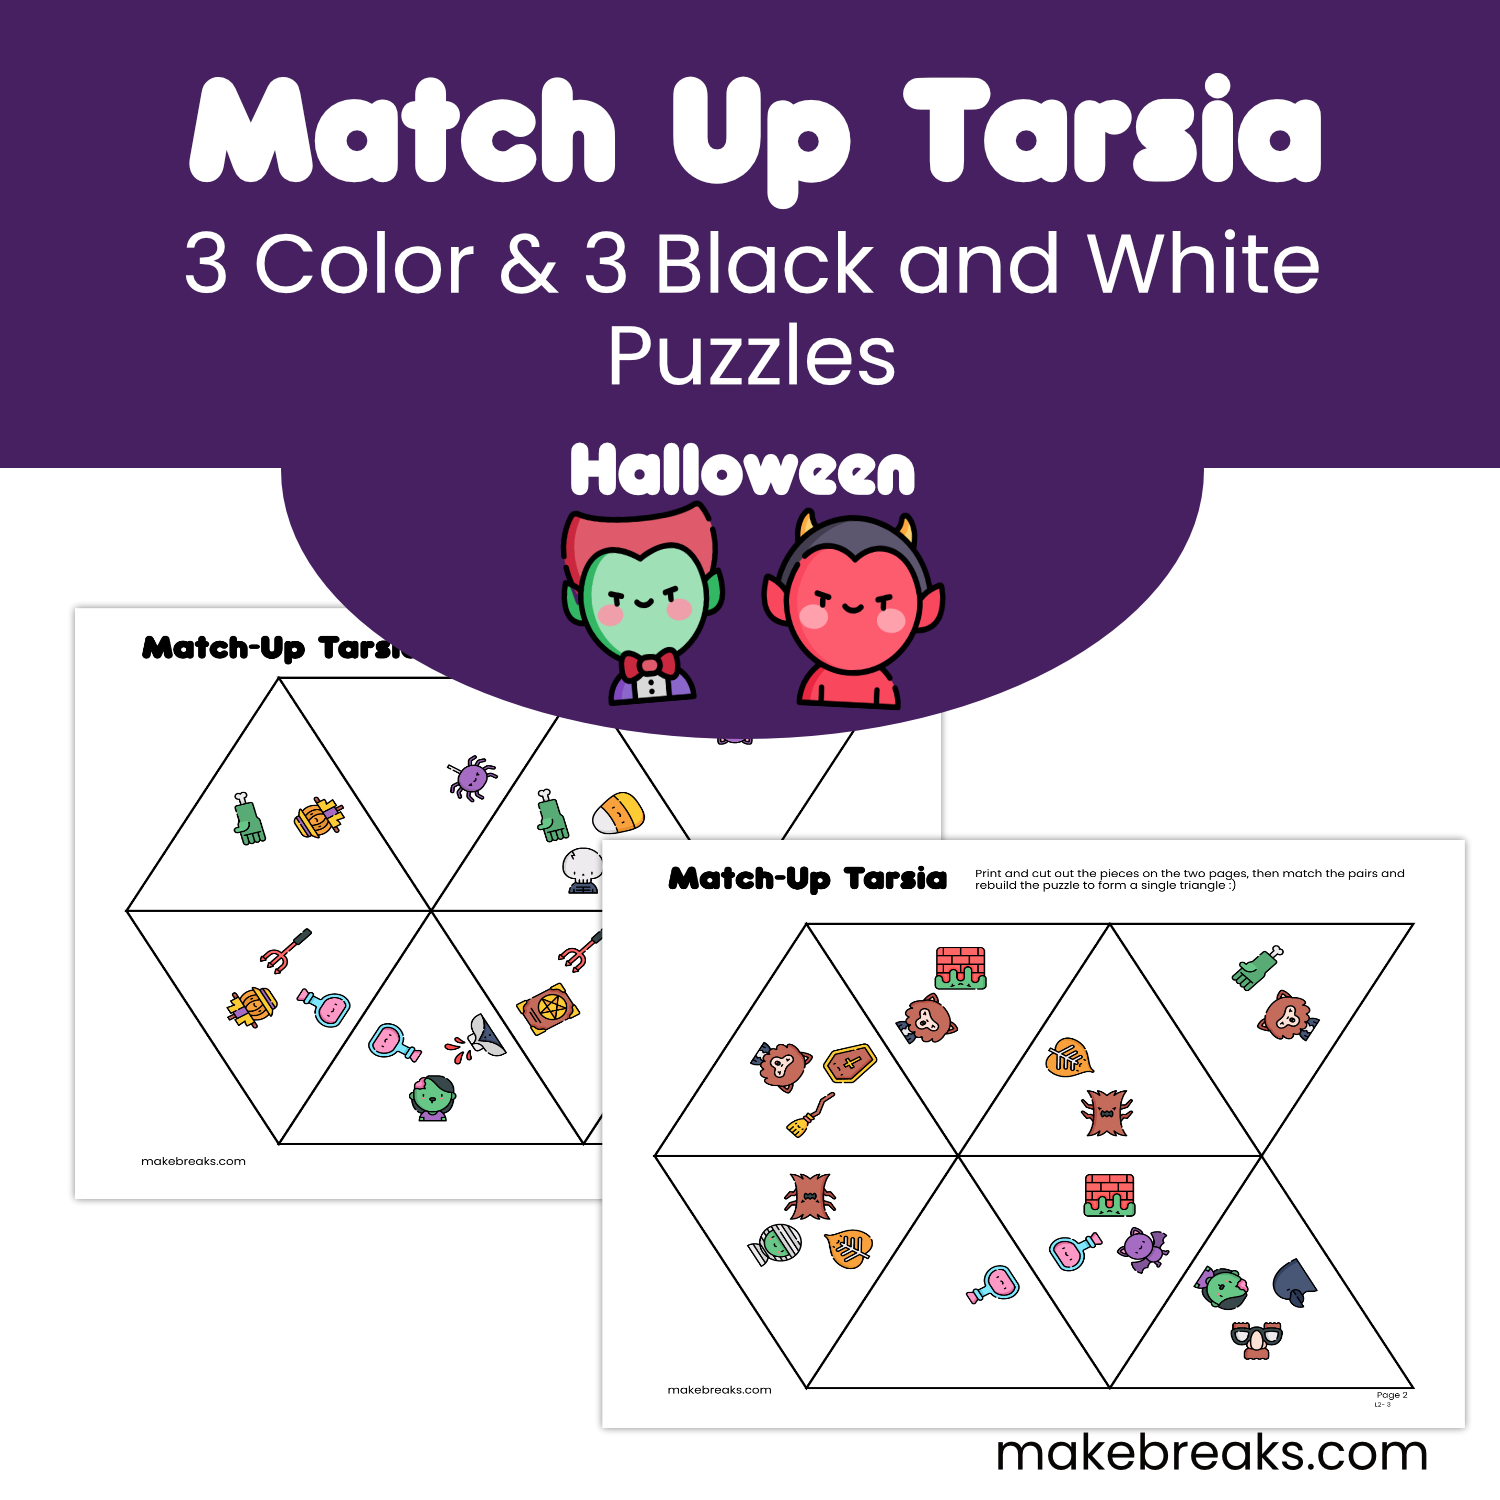
Here are three color and three black and white match up tarsia puzzles. These are match edge puzzles where you cut out the individual triangles and then match the edges to create a new big triangle.

There are two pages per puzzle, you will see the page and puzzle number at the bottom right of each page.

Download Puzzles

Halloween Tarsia Color Halloween Tarsia BW

Free Printable Paper Bead Templates

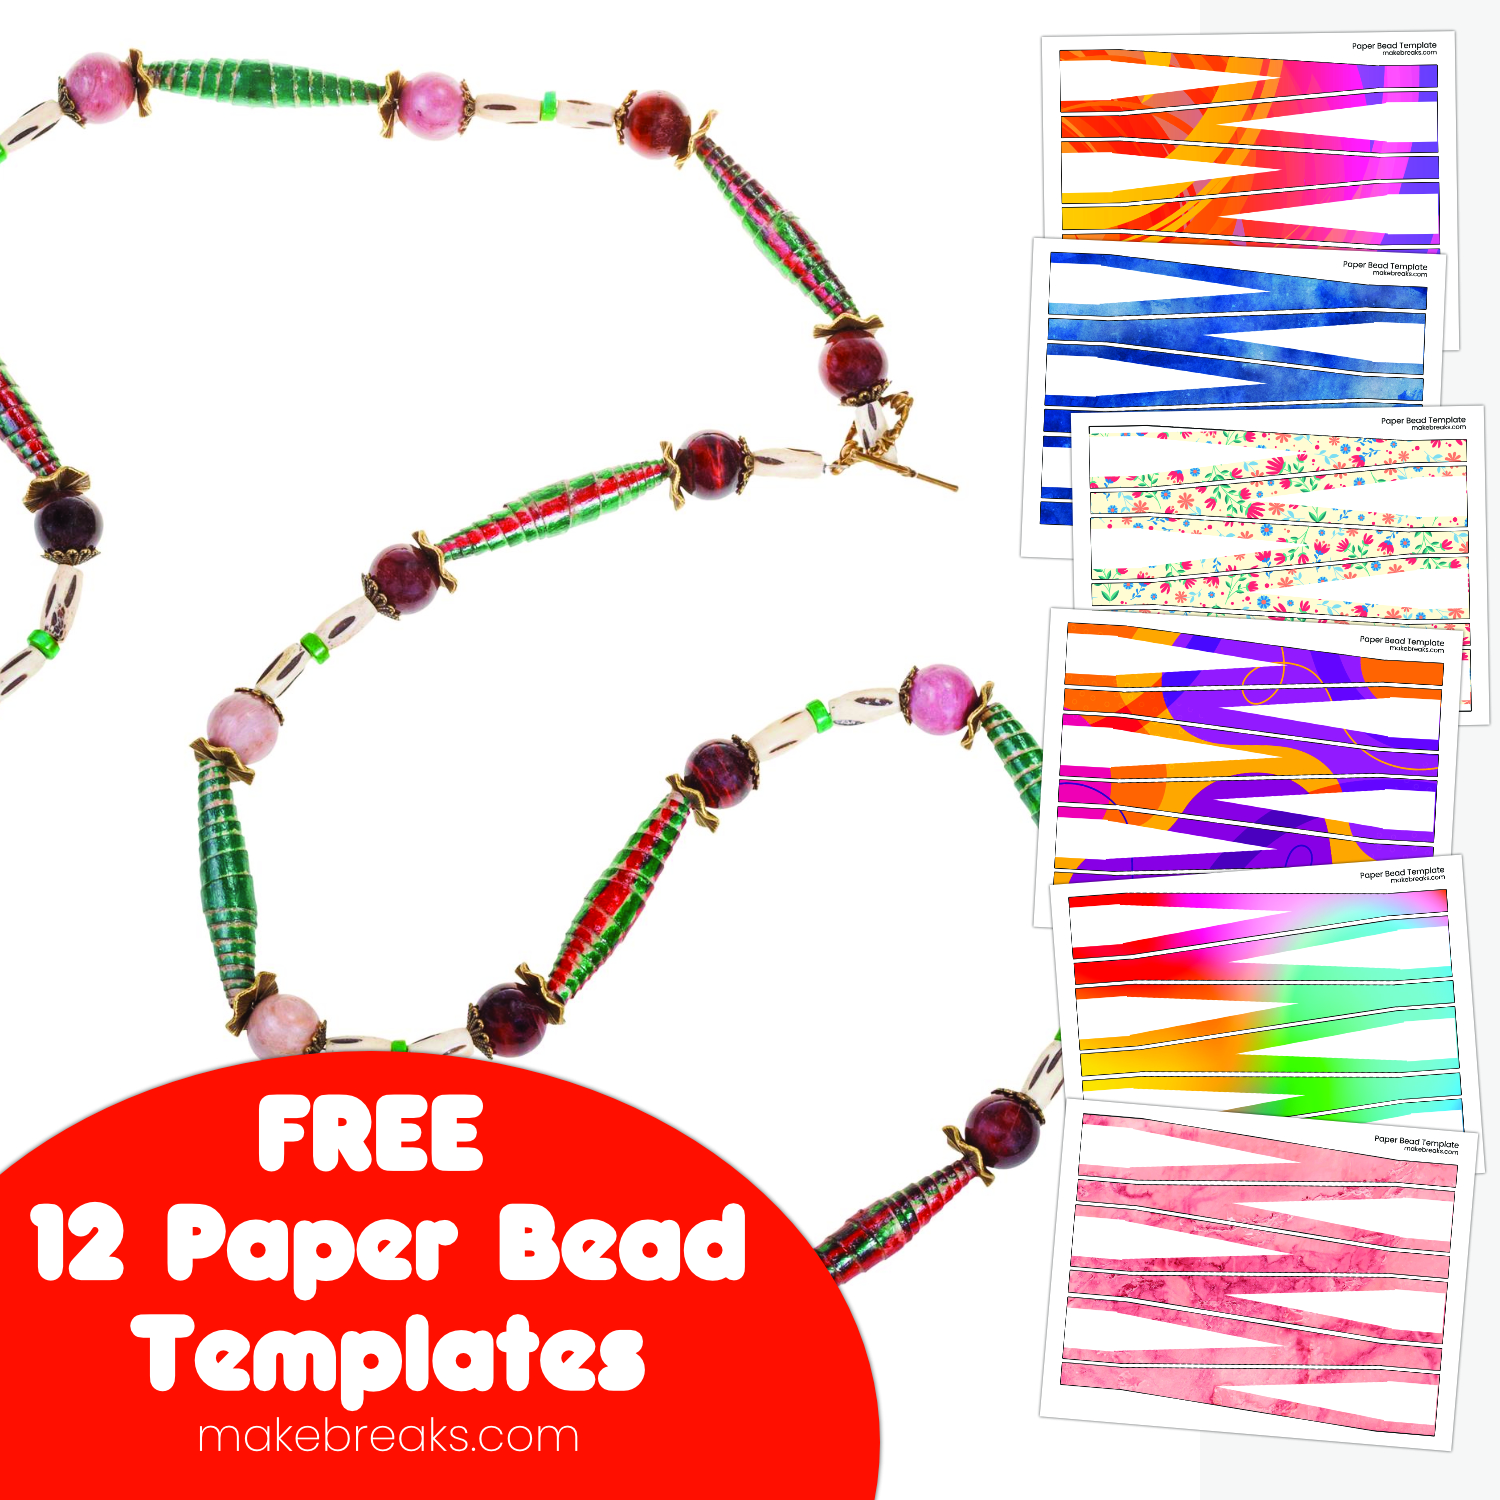
Welcome to our paper bead templates! Paper beads are a versatile and eco-friendly way to turn ordinary materials into extraordinary jewelry pieces. In this article, we’re excited to introduce you to 12 exquisite free paper bead templates that span from pastel watercolors to bold abstract designs, ensuring you can make striking paper beads to suit any style or occasion.

Why Paper Beads?

Before we dive into the dazzling templates, let’s quickly explore why paper beads are such a fantastic crafting choice:

  1. Eco-Friendly: Paper beads can be very eco friendly. Look for recycled paper or print the templates onto the back of printed paper. Using recycled materials for crafting is not only environmentally responsible but also cost-effective.
  2. Unique Designs: Paper beads offer limitless design possibilities. Your creativity can shine through each bead, making them one-of-a-kind.
  3. Affordable: You won’t need a vast array of expensive supplies. With some paper, glue, and a few tools, you’re ready to roll.
  4. Lightweight: Paper beads are incredibly lightweight, making them ideal for jewelry. They’re comfortable to wear all day long.

Now, let’s get to the fun part—crafting paper beads!

Materials You’ll Need:

  • Paper (really any printer paper will work well, but thinner paper will be easier to roll)
  • Glue (white school glue or specialized adhesive for paper beads)
  • Toothpicks or bamboo skewers
  • Scissors or a paper cutter
  • Template printouts (provided below)
  • Clear sealant or varnish (optional)
  • Jump rings, clasps, and jewelry findings (for jewelry)

Paper Bead Rolling Tool

If you are going to make a lot of paper beads then a paper rolling tool could be worth considering. You will find a wide range available. This roller is particularly good if you are planning an extensive bead making session or two!

Tips for Making Paper Beads:

  1. Choose Your Paper: Select various papers for a unique look.
  2. Cut with Precision: Use scissors or a paper cutter to ensure even strips. Precision is key to well-crafted beads.
  3. Template Variety: Our 12 free paper bead templates offer a range of styles, from subtle pastels to bold abstract designs. Choose the one that suits your project best.
  4. Roll Tightly: Start rolling your paper strip around a toothpick or bamboo skewer. Roll tightly, applying a thin layer of glue as you go.
  5. Seal and Finish: To protect your beads and give them a polished look, consider sealing them with a clear varnish or sealant. Allow them to dry completely before using.
  6. Experiment with Sizes: Vary the length and width of your paper strips for different bead shapes and sizes. Mixing them in your jewelry design adds visual interest.
  7. Combine Techniques: Combine different paper beads and techniques to create eclectic and eye-catching jewelry pieces.

Download Paper Bead Templates

Pink Marble Bead Template

pink marble bead template makebreaks

Watercolor Bead Template 3

watercolor beads _makebreaks

Watercolor Bead Template

watercolor beads 2_makebreaks

Blue Watercolor Bead Template

watercolor beads blue_makebreaks

Neutral Watercolor Beads Template

watercolor beads neutral _makebreaks

Pink Watercolor Bead Template

watercolor beads pink_makebreaks

Abstract Colorful Bead Template

abstract bead template

More coming soon… 🙂

These 12 free paper bead templates offer a world of possibilities for your crafting adventures. Mix and match them, experiment with sizes, and let your creativity run wild. Whether you’re making a statement necklace, bohemian earrings, or a unique bracelet, these paper beads are sure to turn heads and spark conversations.

So, gather your supplies, choose your favorite template, and start crafting your own dazzling paper bead jewelry today. Happy crafting!

Halloween ‘What’s The Number’ Puzzle

What’s the number of the Halloween icons?

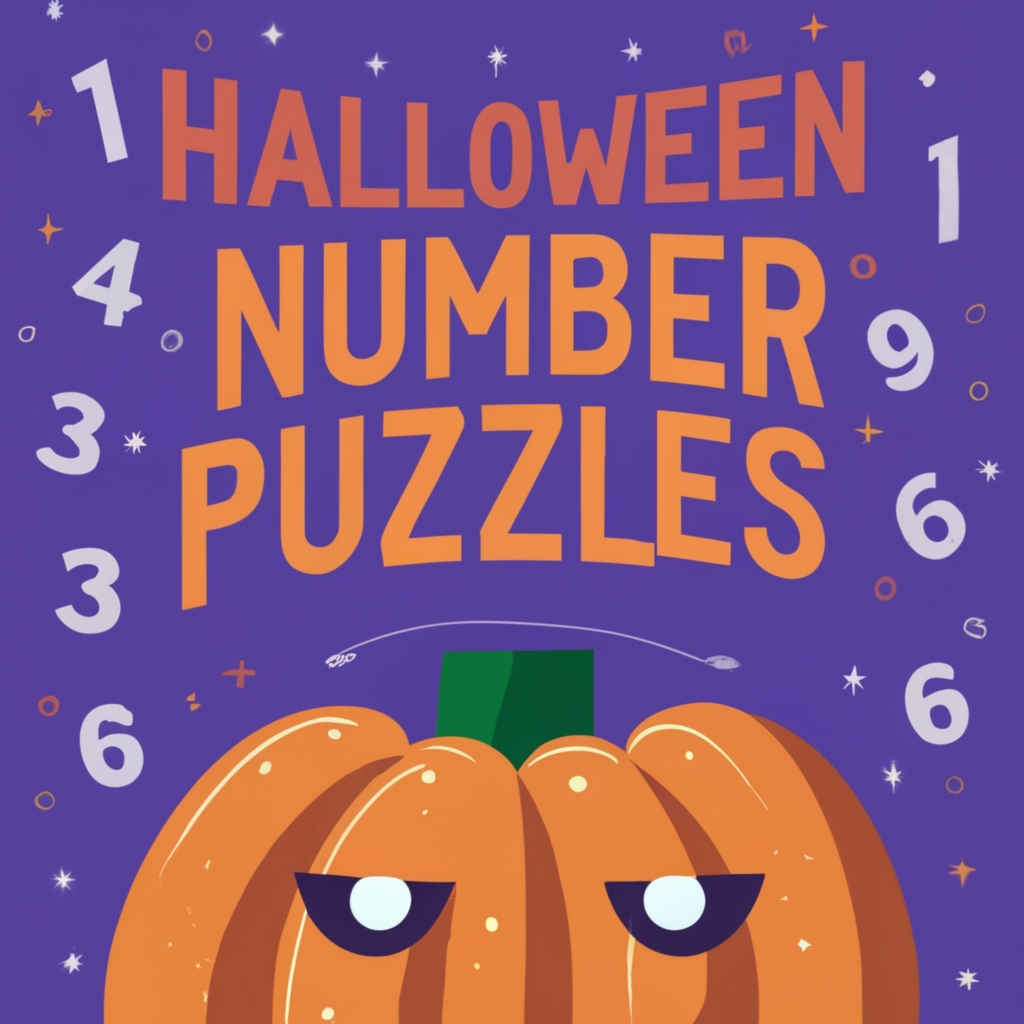
Are you looking for a fun and educational way to challenge your child’s math skills? Look no further than our new free printable Halloween themed number puzzles!

These puzzles feature simple calculations using just addition and subtraction, and they come in 5 different variations to keep things interesting.

To solve each puzzle, your child will need to figure out what number each icon represents. The icons are all familiar Halloween objects. Once they know the value of each icon, they can use the clues in the puzzle to solve the equation.

These puzzles are a great way to help your child develop their math skills, problem-solving skills, and critical thinking skills. They’re also a lot of fun!

To download the puzzles, simply click the link below. You can print them out on letter/A4 paper and then let your child have at it!

We hope your child enjoys these puzzles!

Here are some tips for solving the number puzzles:

  • Start by looking at the clues in the puzzle. What are the totals of the equations? What are the different icons?
  • Try to figure out what number each icon represents. You can do this by looking at the clues and by trying to make sense of the equations.
  • Once you know the value of each icon, you can start to solve the equations.
  • If you get stuck, don’t give up! Try working through the puzzle one step at a time.

With a little practice, your child will be solving these puzzles in no time!

Here are some additional benefits of using number puzzles:

  • Number puzzles can help children develop their math skills, including addition, subtraction, and problem-solving.
  • They can also help children develop their critical thinking skills and their ability to visualize numbers.
  • Number puzzles can be a fun and challenging way for children to learn about math.
  • They can also be a great way for parents and children to bond and spend time together.

If you’re looking for a fun and educational way to help your child with their math skills, be sure to check out our new free printable number puzzles!

Halloween Number Puzzle

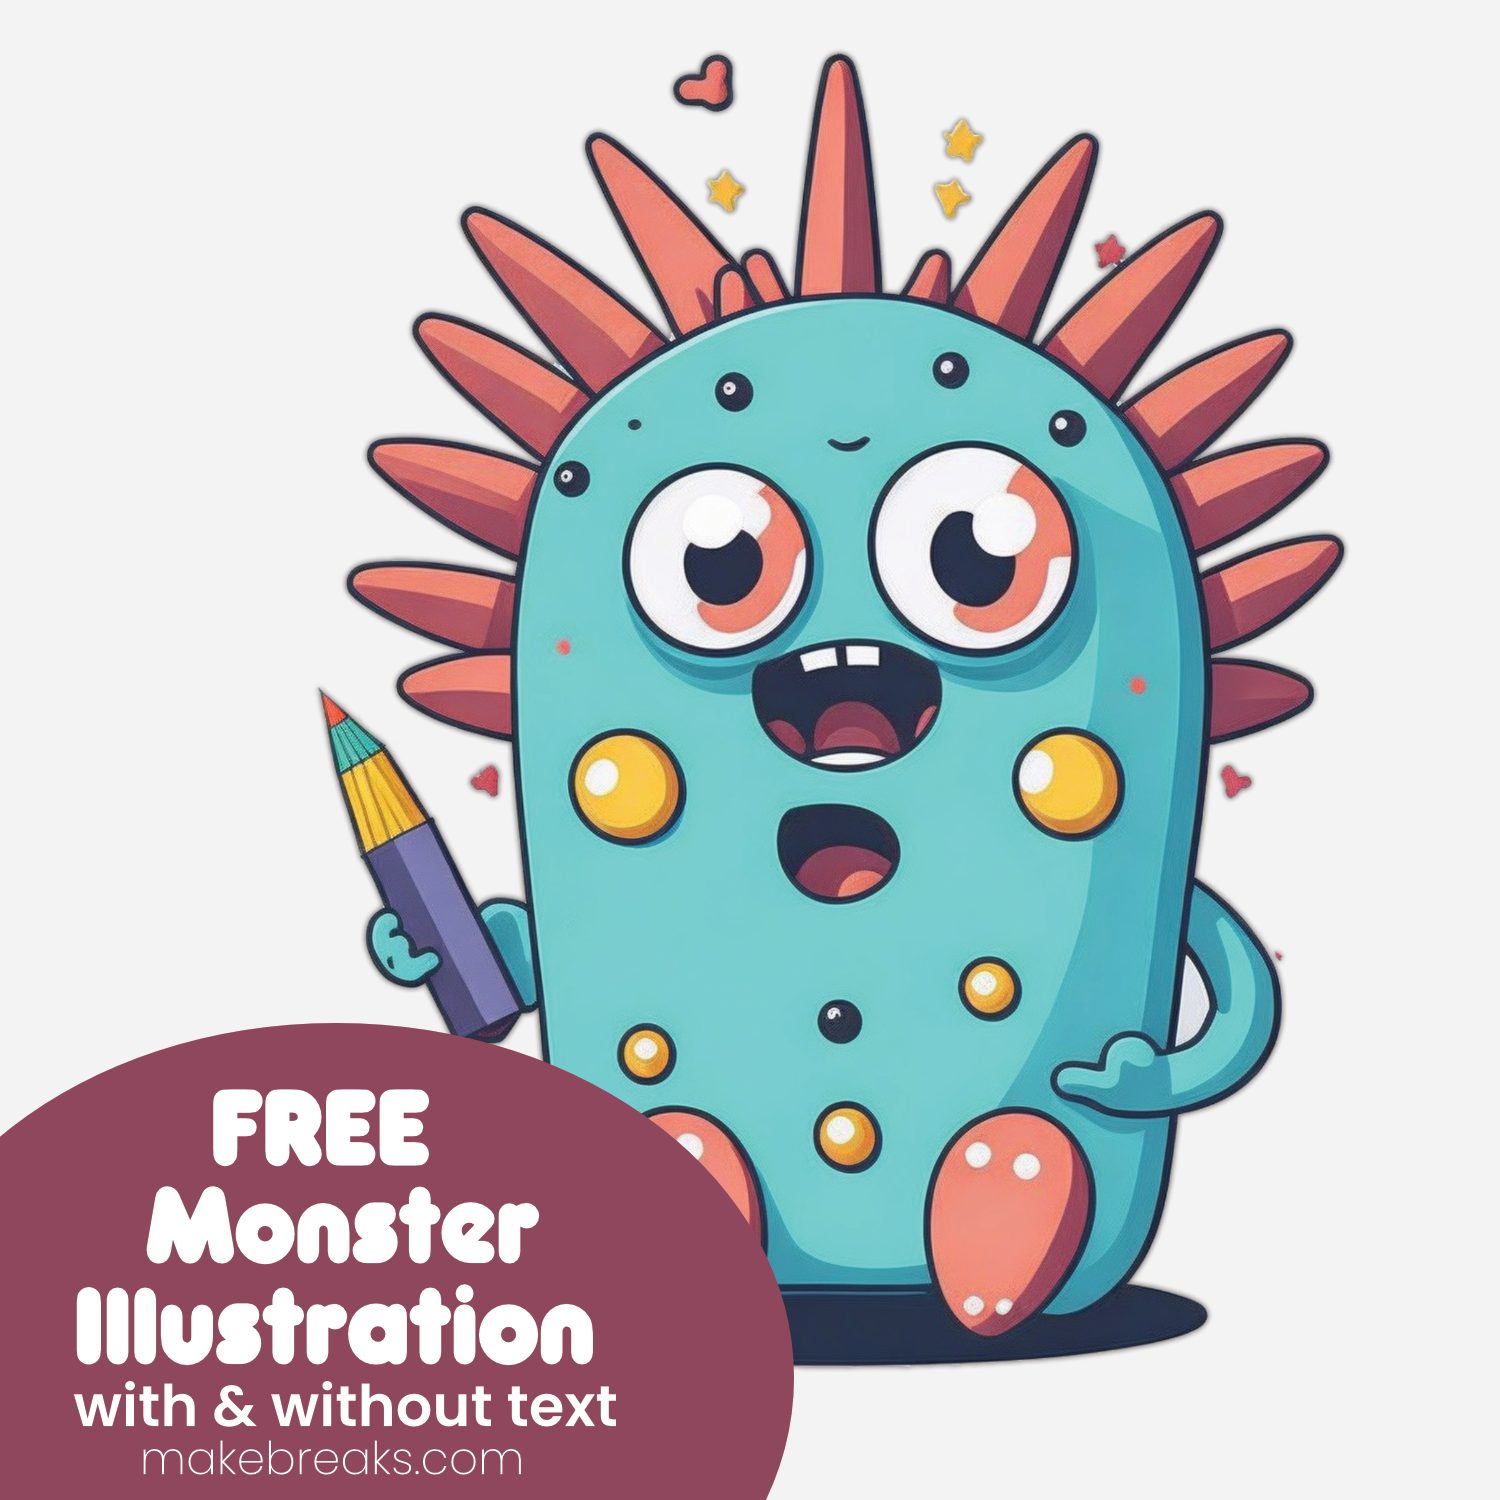
Free Cute Monster With Pencil Clipart

Are you ready to add a touch of whimsy and creativity to your school projects and classroom decor? We’re excited to introduce our latest free graphic featuring an utterly cute monster clutching a pencil! This PNG file comes with a transparent background, making it a breeze to layer with other graphics and design the perfect welcome posters, classroom decorations, and more.

Why Choose Our Monster with a Pencil Graphic?

  1. Unleash Creativity: Whether you’re a teacher looking to inspire your students or a student with a passion for design, our monster with a pencil graphic is the perfect companion for all your creative endeavors. Its playful appearance will make learning and crafting an absolute delight.
  2. Versatile Usage: This graphic is incredibly versatile. You can use it to create eye-catching welcome posters for your classroom, design engaging lesson plans, or even craft fun worksheets. Its transparent background allows you to effortlessly integrate it into your existing design projects.
  3. Engage Your Students: Children are naturally drawn to colorful and imaginative visuals. Incorporate this adorable monster into your teaching materials to captivate your students’ attention and stimulate their curiosity.

How to Use Our Monster with a Pencil Graphic

Using our graphic is as easy as ABC:

  1. Download: Click the download link below to get your hands on this delightful monster graphic.
  2. Customize: Open your preferred graphic design software (such as Adobe Photoshop, Canva, or GIMP) and import the graphic. It’s a PNG file, so you can easily add it to your existing projects or start from scratch.
  3. Get Creative: Let your imagination run wild! Design captivating posters, decorate your classroom with charming monster-themed visuals, or even create personalized worksheets to make learning fun.

Tips for Maximum Impact

  • Pair with Text: Add welcoming messages, motivational quotes, or educational tidbits to make your creations both visually appealing and informative.
  • Experiment with Colors: Customize the monster’s colors and the pencil to match your school’s color scheme or your personal style.
  • Layering Magic: Thanks to the transparent background, you can layer this graphic with other elements, such as photos, text, or additional graphics, to create unique compositions.
  • Print and Share: Don’t forget that your digital creations can also be printed to decorate your physical classroom space.

Get Started Today!

Ready to elevate your classroom decor and teaching materials with a dash of cuteness and creativity? Download our free Monster with a Pencil graphic now and let your imagination run wild! Whether you’re a teacher, student, or anyone with a penchant for design, this graphic is sure to add a touch of magic to your educational endeavors. Happy creating!

Download Cute Monster With Pencil Graphic

Cute Monster With Pencil

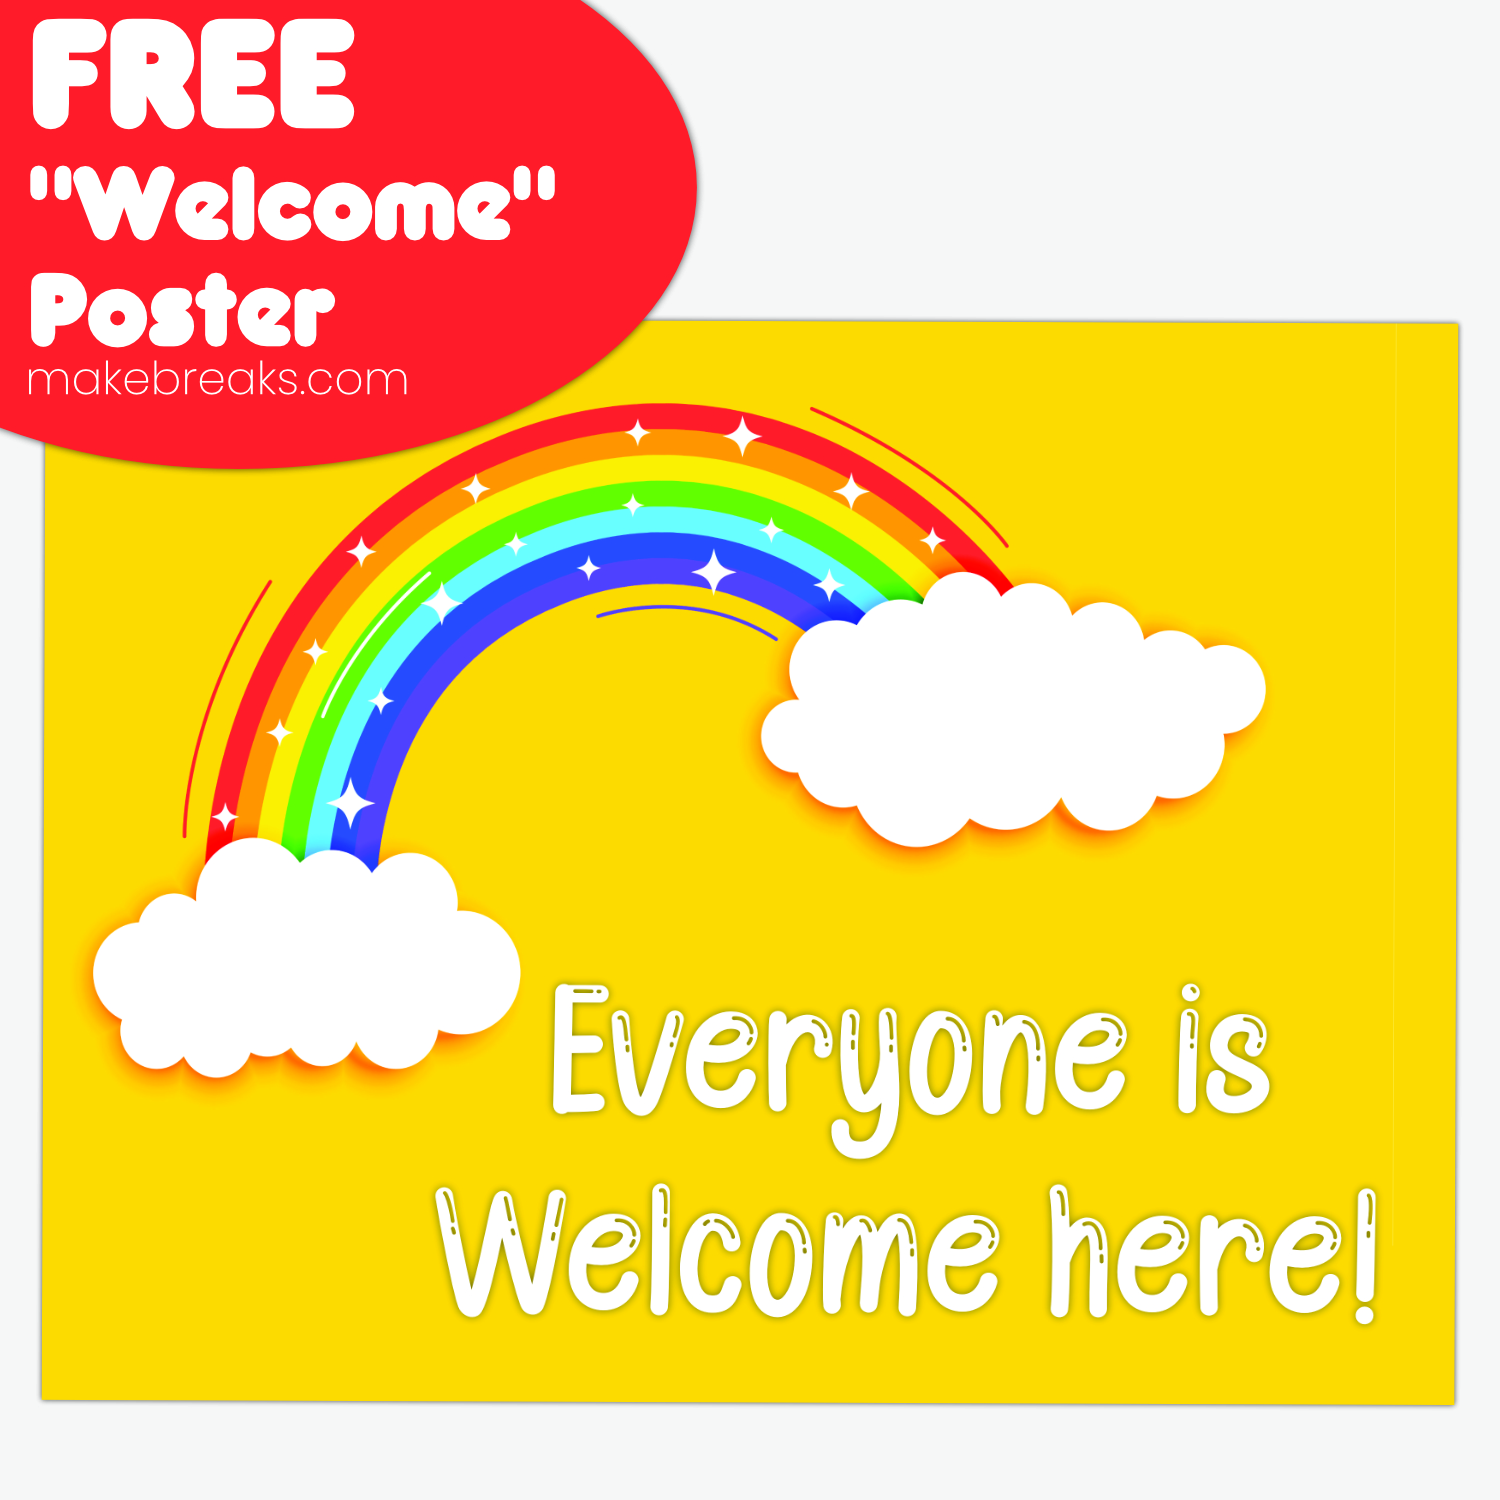
Everyone is Welcome Here – Free Back To School Poster

As a new school year approaches, creating an environment that radiates warmth and inclusivity is paramount. We’re thrilled to introduce our latest creation: a free printable ‘Everyone is Welcome’ poster featuring a cheerful yellow background adorned with a vibrant rainbow. This poster is more than just decor—it’s a heartfelt message that celebrates diversity and embraces every student who enters your classroom. Read on to discover how this poster can brighten up your space and get printing tips to ensure it shines as brightly as your intentions.

Why Choose Our ‘Everyone is Welcome’ Rainbow Poster?

Our ‘Everyone is Welcome’ poster goes beyond aesthetics; it’s a symbol of unity and acceptance that fosters a sense of belonging. Here’s why this poster deserves a special spot in your classroom:

  1. Sunny Resonance: The yellow background exudes positivity, energy, and the warmth of the sun. It’s an instant mood-lifter that creates an inviting atmosphere for students.
  2. Rainbow of Diversity: The rainbow arching across the poster represents the beauty of diversity and the value of embracing different perspectives. It’s a visual reminder that every student is unique and equally important.
  3. Inclusive Message: The words “Everyone is Welcome” carry a powerful message that transcends language barriers. It’s an assurance that your classroom is a safe haven where every individual can express themselves freely.

Tips for Printing Your ‘Everyone is Welcome’ Poster:

Printing your poster with precision is easy when you follow these simple steps:

  1. Download and Store: Begin by downloading the free printable ‘Everyone is Welcome’ poster from our website. Save the file to a location on your device for quick access.
  2. Paper Quality: Opt for high-quality, bright white paper to ensure that the colors pop and the details shine. Glossy or semi-gloss paper is ideal for enhancing vibrancy.
  3. Printer Settings: Adjust your printer settings to match the paper type you’re using. Opt for the highest print quality for crisp text and vivid colors.
  4. Print Scale: Ensure the poster is printed at its original size to maintain accurate dimensions. Choose the “Actual Size” or “100%” option in your printer settings.
  5. Trim and Frame: After printing, carefully trim the edges using a ruler and sharp scissors or a craft knife. To enhance the poster’s appeal, consider framing it before displaying.
  6. Display Thoughtfully: Hang the poster where it’s easily visible to all students. Use removable adhesive or wall-safe tape to secure it without damaging walls.

Illuminate Your Classroom with Inclusivity and Positivity

A classroom that embraces diversity and inclusion fosters a conducive learning environment for all students. Our free printable ‘Everyone is Welcome’ poster, adorned with a sunny yellow background and a vibrant rainbow, serves as a daily reminder of the value of unity and acceptance. By following our printing tips, you can ensure that this poster shines as brightly as your commitment to creating an atmosphere where every student feels seen, heard, and valued.

everyone is welcome here

Download the ‘Everyone is Welcome’ poster today and illuminate your classroom with the spirit of inclusivity and positivity. Here’s to a remarkable year of shared growth, understanding, and celebration of uniqueness!

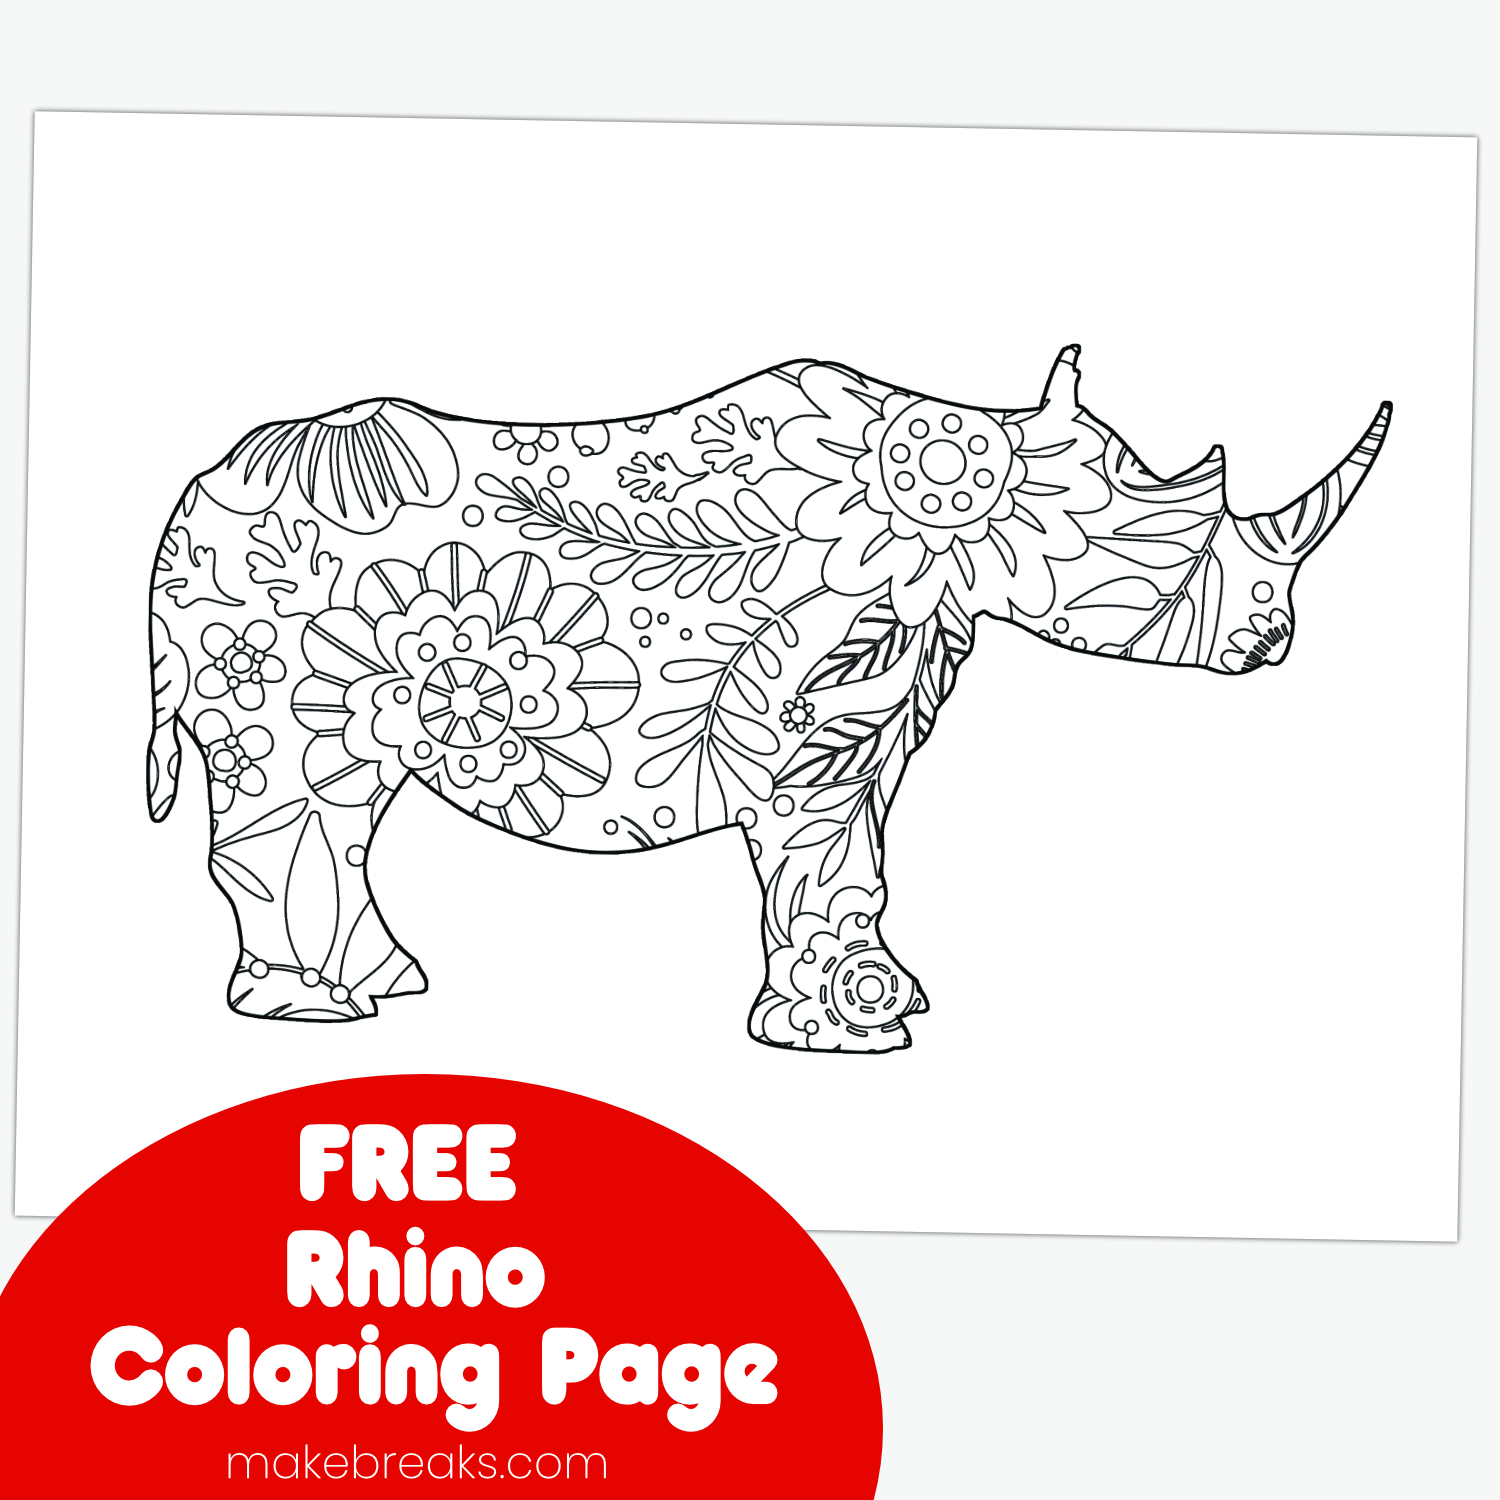
Unleash Your Creativity with Our Intricate Rhino Coloring Page!

Are you ready to embark on a captivating journey into the realm of artistry and imagination? Look no further! We’re thrilled to present to you new detailed rhino coloring page that’s bound to ignite your creativity and provide hours of relaxing entertainment. Whether you’re an experienced coloring enthusiast or a curious beginner, this masterpiece is designed to cater to your artistic desires.

Ideal for Fine Pens and Markers:

The exquisite level of detail in this coloring page makes it a perfect canvas for fine pens and markers. With their precision and vibrant ink, these tools will allow you to add depth, shading, and vibrant hues to each intricate element of the rhino’s form. Let your creativity flow as you blend colors seamlessly to create a truly stunning masterpiece. If you need help deciding which coloring tools are best for your coloring projects, check out our guide HERE.

Tips for Coloring Success:

  1. Start Light, Build Depth: Begin with light strokes and gradually build up color intensity to achieve a realistic and well-shaded appearance.
  2. Experiment with Color Schemes: Unleash your creativity by trying out different color combinations. Realism or fantasy – the choice is yours!
  3. Use Blending Techniques: Harness the power of blending markers or pens to achieve smooth transitions between colors and create a sense of depth and dimension.
  4. Highlight and Shade: Enhance the three-dimensional effect by adding highlights to the raised areas and shadows to the recessed ones.

Printing Perfection:

To ensure the best possible outcome, follow these printing tips:

  1. Paper Quality: Opt for high-quality, letter or A4 size paper that can handle the weight of markers and prevent bleeding.
  2. Printer Settings: Select the highest print quality setting on your printer for sharp lines and vibrant details.
  3. Test Print: Always run a test print on regular paper before using your chosen coloring paper to fine-tune settings and colors.

DOWNLOAD RHINO COLORING PAGE

Rhino Coloring Page

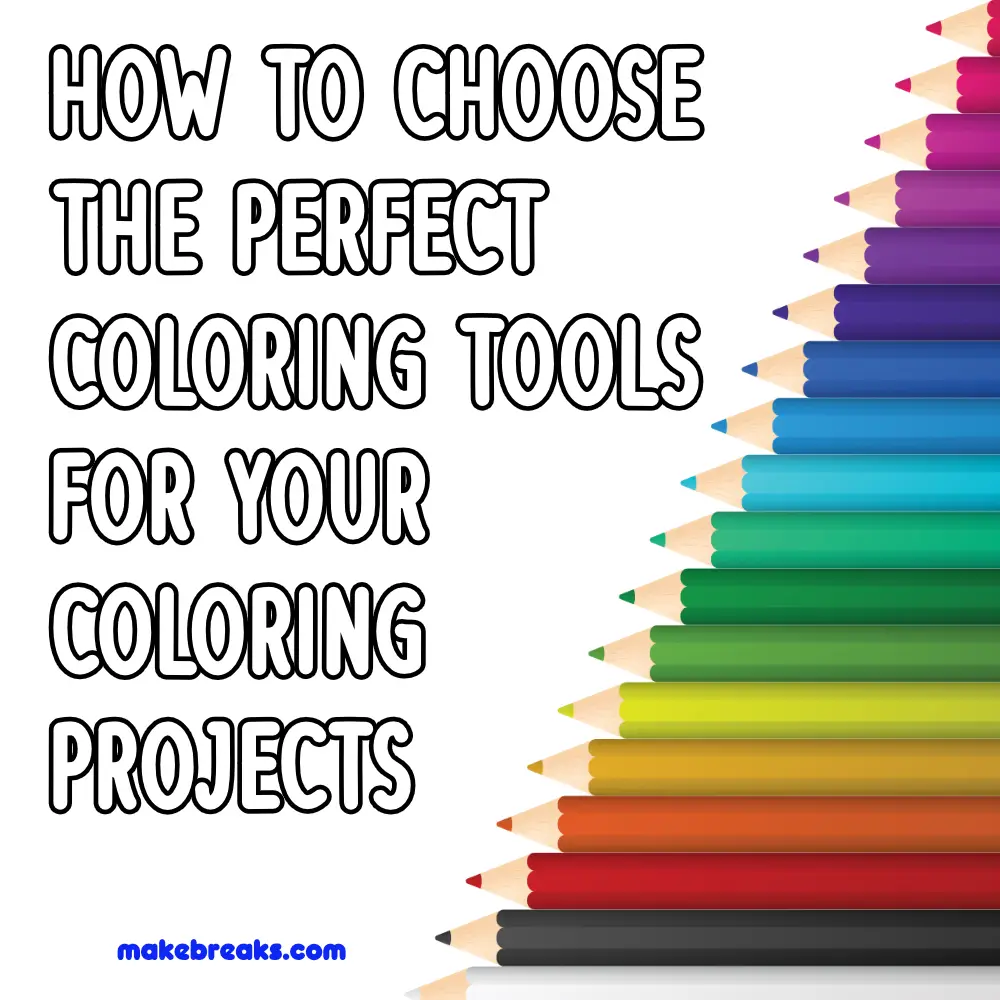
Pens, Pencils and Markers: Choosing the Perfect Medium for Your Coloring Pages

If you love coloring but are not sure which are the best coloring media for different coloring pages you are not alone! While you can use almost any coloring method to color any coloring page, there’s no doubt that you will get better results if you match the coloring tool to the type of design. A finely detailed mandala, for example, will be great fun to color with fine tipped markers, but a bit nightmare-ish to color with thick pastels! Using the wrong tools for the job can mean disappointing results which can be demotivating and disappointing – particularly when you are starting out coloring.

While it is enjoyable to get creative, try new things and literally color outside the lines – when starting out, it’s good to know which are the best types of coloring tools for different pages.

CHECK OUT OUR FREE COLORING PAGES!

Coloring pages have evolved from being simple childhood pastimes to therapeutic and creative outlets for people of all ages. As the popularity of coloring books continues to rise, so does the range of coloring media available to enthusiasts. Each medium brings its own unique qualities and characteristics to the table, making the choice of coloring medium an important decision. In this comprehensive guide, we’ll delve into the world of coloring media, exploring their strengths and suggesting the best medium for different types of coloring pages.

Colored Pencils: Vibrant Precision

Colored pencils remain a staple for many coloring enthusiasts due to their versatility and precise control. They offer a wide range of colors, allowing for intricate details and shading. Ideal for intricate designs and finely-detailed pages, colored pencils allow you to achieve lifelike textures, gradients, and layering effects. They are also relatively mess-free and portable, making them an excellent choice for on-the-go coloring.

Best for: Intricate mandalas, nature scenes, and illustrations with small details.

Colored Pencils to Consider

Amazon Basics offer a good value set of colored pencils which are perfect for beginners:

However, if you are looking for pencils with more control and with lovely soft cores which are ideal for blending then Prismacolors are a great choice. These are available in a huge range of colors and in boxes of different sizes and you can also buy the pencils individually. I have been using Prismacolors for over 15 years and they remain my go-to colored pencil!

Watercolor Pencils: Expressive Fluidity

Watercolor pencils bring a sense of fluidity and spontaneity to coloring pages. They offer a unique blending quality that creates beautiful, translucent effects. Watercolors are perfect for achieving soft, dreamy backgrounds and vibrant washes. However, they require a bit of skill to control and it’s best to use a good quality paper (or even a watercolor printer paper) for your coloring page.

Best for: Coloring pages with lots of opportunity for blending or big open spaces.

Watercolor Pencils to Consider

There are many watercolor pencils to consider. Look for ones with a high density of pigment.

Kalour pencils are a great choice and can be used wet or dry which is an interesting way to achieve different effects with the same pencils. This 72 pencil pack represents good value for money and these pencils are well reviewed.

Markers: Bold and Vibrant

Who doesn’t love coloring with markers! Markers provide bold, vibrant colors with smooth, consistent coverage. They come in various types, including alcohol-based markers known for their seamless blending and water-based markers that offer a wider color range. Markers are great for quick and satisfying coloring sessions, but they can bleed through thin paper, so it’s important to choose appropriate paper stock.

Best for: Comic book-style illustrations, geometric designs, and pages that require intense color saturation.

Markers to Consider

There are many different types of markers, including brush markers which have a soft tip and are similar to using a paint brush.

However, if you are looking for a set of marker pens which will give you great quality colors and will adapt to a range of coloring page styles, you really can’t go wrong with Sharpies!

Pastels: Soft and Textured

Pastels offer a unique texture and a soft, dreamy appearance. They can be used both as dry pastels for rich, layered effects and as oil pastels for smoother coverage. Pastels are perfect for achieving a blend of vibrant and muted colors, and they work well on darker paper. Keep in mind that pastels can be a bit messy and require fixatives to prevent smudging (however a quick spray of hairspray will work as a fixitive!)

Best for: Portraits, fantasy scenes, and pages where texture and gentle color transitions are key.

Note that pastels are fiddly to use when looking to color pages with fine detail, however that doesn’t mean you shouldn’t try – it just means you may get different results than if coloring with pens or pencils with fine nibs.

Pastels to Consider

There are many brands to consider, however one that is definately worth checking out is Arteza.

Digital Coloring: Limitless Possibilities

With the advent of digital technology, coloring has taken a digital turn as well. Digital coloring allows for limitless color options, easy corrections, and the ability to experiment without worrying about ruining the paper. It’s an ideal choice for those who prefer a wide range of colors and effects at their fingertips.

Digital coloring is also ideal for intricate designs as it’s super easy to zoom in for the detail.

Another great thing about digital coloring is you can try different brushes which replicated different ‘real’ coloring media, for example oil paints or watercolors.

Best for: Intricate patterns, and illustrations that require precise detailing – and any designs where you want to try new things

The Choice is Yours!

Ultimately, the choice of coloring medium depends on your personal preferences and the type of coloring experience you seek. Colored pencils offer precision, watercolors bring fluidity, markers provide boldness, pastels offer texture, and digital coloring opens up new horizons. Each medium has its own charm, and experimenting with different options can lead to a richer coloring journey. So, grab your chosen coloring medium and let your imagination run wild as you bring life to the pages before you!

How to Choose the Best Printing Paper for Your Next Printable Project

Printer paper remains an essential supply, whether it’s for printing masterful wall art (check out our free printable wall art for some ideas), creating intricate coloring pages (take a look at our 100s of free coloring pages), or completing items like puzzles and worksheets. Selecting the right paper for these diverse purposes can greatly enhance the quality of your creations. To ensure you make the best choice, here’s a usefil guide on what to look for when selecting paper for various home printing needs.

Printing Paper Type and Weight

The type of paper you choose significantly impacts the final result. For coloring pages and wall art, consider heavier paper (around 120-160 gsm) with a smooth surface that can handle various media, such as markers, colored pencils, and even light watercolor. For disposable items like puzzles and worksheets, a slightly lighter weight (around 80-100 gsm) is usually sufficient.

Best Value Everyday Printer Paper

For a good basic paper check out Amazon’s own paper. This is a good all-purpose paper that is suitable for a variety of printing needs, including documents, flyers, and presentations. It is 20lb weight and has a 92 brightness rating, which means it is white and opaque. It is also acid-free, which means it will not yellow over time. This paper is available in reams of 500 sheets and is very affordable.

Alternatively, check out Hammerhill Premium Multipurpose paper. This paper is a step up from the Amazon Basics paper and is made with a higher quality cotton fiber. It is 24lb weight and has a 97 brightness rating, which makes it even whiter and more opaque. It is also acid-free and chlorine-free. This paper is available in reams of 500 sheets and is a good choice for printing high-quality documents such as coloring pages and wall art.

Best Colored Paper for Printing

If you are looking for colored paper (which is ideal for printing out our alphabet templates and other goodies), take a look at Astrobrights Color Paper. This paper is perfect for printing any projects that need a pop of color. It comes in a variety of bright colors, including pink, blue, green, and yellow. It is 16lb weight and has a 92 brightness rating. This paper is available in a variety of pack sizes and is a great way to add some fun and creativity to your printing projects.

Consider Finish and Texture

The finish of the paper plays a vital role in the appearance of your prints. For wall art and coloring pages, a matte finish offers a sophisticated look, reduces glare, and allows for better color saturation. Glossy finishes, on the other hand, lend a vibrant and reflective quality to images.

You could also try one of the printable watercolor paper options. These give a fantastic authentic watercolor feel.

Best Printing Paper for Coloring Pages

Coloring pages may be best printed onto a smooth paper or cardstock. This makes it easier to color and gives a more consistent finish (that’s not to say you can’t get some great results on textured paper – the key here is to experiment and see what works best for you!).

For a great coloring page option consider Neenah Premium Cardstock. This paper is a bit heavier than the other options, but it is a good choice for coloring pages as it will avoid color bleeding through to the other side. It is 65 lb weight and has a smooth finish that is ideal for colored pencils and markers. It is also acid-free and lignin-free, which means it will not yellow over time and is ideal if you want to frame or keep your finished coloring projects.

Color Reproduction for Wall Art

When printing wall art, accurate color reproduction is paramount. Look for paper that is specifically designed for color printing, as it will ensure that the colors remain true to the original artwork. Many paper manufacturers provide color profiles for their products, which can be used to calibrate your printer for optimal results.

One great option is Epsom Velvet Fine Art paper. It is museum quality, acid-free base to preserve fine art and photos, 100% cotton rag for archivability and has a bright white surface for excellent color reproduction.

Tips for Choosing the Right Paper for Your Project

Here are some tips for picking the right paper for your next printable project:

Archival Quality
If you’re aiming for longevity, especially with wall art and decor, opt for acid-free and lignin-free paper. These papers are less prone to yellowing and deterioration over time, preserving your creations for years to come.

However, this is only necessary with project you want to keep. For every day use, a simple basic printing paper will be fine.

Printer Compatibility
Always check if the paper you’re considering is compatible with your printer. Some printers might have limitations on paper weight or type. Using the right paper can prevent jams and ensure smooth printing.

Environmental Considerations
If environmental sustainability is a concern, look for paper that is certified by organizations like the Forest Stewardship Council (FSC), which ensures responsible forestry practices. Recycled paper options are also available, which can reduce your carbon footprint.

Pack Sizes and Cost
Consider the quantity of paper you need. Many manufacturers offer various pack sizes to suit your needs. Buying in bulk might be more cost-effective in the long run. However, if you’re experimenting with different paper types, it’s wise to start with smaller quantities.

Brand Reputation
Reputable paper brands often offer consistent quality. Look for well-known brands that have a history of producing reliable and high-quality printing paper.

Reviews and Recommendations
Before making a purchase, browse online reviews and seek recommendations from fellow artists, crafters, or anyone with relevant experience. Personal insights can help you make an informed decision.

Trial and Experimentation:
Don’t hesitate to try out different paper types before committing to a particular one. Print test pages to assess color accuracy, texture, and overall print quality. This experimentation will help you find the perfect paper for your specific needs.

Selecting the right paper for your home printing endeavours involves careful consideration of factors such as type, weight, finish, color reproduction, archival quality, compatibility, environmental impact, pack sizes, brand reputation, and recommendations. By following these guidelines and taking the time to experiment, you’ll be well-equipped to produce stunning creations that showcase your artistic talent and attention to detail.

Free Paper Bead Template Coloring Page

This is a coloring project with a difference! Use this paper bead coloring page to create your own unique paper beads. Use different color schemes to create beads with a different look and feel.

I have designed these beads specifically for coloring. You will see the bead has a wider than normal taper point, this is to allow the pattern to show all the way around the bead. The white part in the center is hidden when the bead is rolled – therefore you don’t need to color this part to save on ink. Add embellishments such as dots of glitter glue or even embossing powder to add dimension to the finished beads. If you are not sure how to make paper beads, check out our free paper bead tutorial here.

Find more free coloring pages HERE

These coloring paper bead template will print on letter or A4 paper. Both JPG and PDF files are enclosed for ease of printing.

Want to know when new free coloring pages are added? Be the first to know of new freebies and other fun things! SIGN UP HERE 🙂

Free Paper Bead Template Coloring Page

You can download the jpg and pdf file here:

Paper Bead Template to Color